
★★★★★
June 26, 2022
Perfect fit. I will buy from A1 Auto again.

Replaces







About TRQ:
TRQ is a trusted brand dedicated to making every repair a success story by combining premium parts with easy installation. Each TRQ part is engineered by a team of automotive experts to meet or exceed OEM standards, delivering enhanced performance and maximum longevity. With rigorous in-house testing, the brand ensures superior fit and function across every product line. TRQ also provides customers with best-in-class, step-by-step installation videos—so you can complete repairs with confidence, whether you're a first-time DIYer or an industry professional.
Product Features
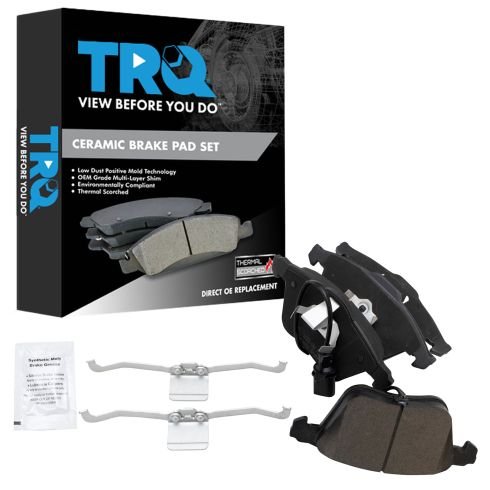
TRQ brake pads are manufactured using premium raw materials and design standards to restore original performance. TRQ brake pads are positive molded and utilize a multi-layer shim for enhanced performance and service life. TRQ’s combination of materials and design ensures a low dust and low noise braking experience. TRQ recommends replacing your brake rotors when you replace your brake pads to ensure even wear of components and improved braking comfort. All products are fit and road-tested in our Massachusetts R&D facility to ensure we deliver on our promise of Trusted Reliable Quality.
Attention California Customers:
 WARNING: This product can expose you to chemicals including Lead and Lead Compounds, which are known to the State of California to cause cancer, and birth defects or other reproductive harm. For more information, go to www.P65Warnings.ca.gov.
This part fits 22 vehicles spanning 2004-2011.
| Year | Make | Model | Description |
|---|---|---|---|
| 2005-2008 | Audi | A4 | Audi A4 Front with 320mm Diameter Front Rotors Ceramic Brake Pads TRQ BFA73362 |
| 2009 | Audi | A4 | Audi A4 Cabriolet Front Ceramic Brake Pads TRQ BFA73362 |
| 2005-2008 | Audi | A4 Quattro | Audi A4 Quattro Front with 320mm Diameter Front Rotors Ceramic Brake Pads TRQ BFA73362 |
| 2009 | Audi | A4 Quattro | Audi A4 Quattro Cabriolet Front Ceramic Brake Pads TRQ BFA73362 |
| 2006-2009 | Audi | A6 | Audi A6 Front with 321mm Diameter Front Rotors Ceramic Brake Pads TRQ BFA73362 |
| 2006-2009 | Audi | A6 | Audi A6 Front with 347mm Diameter Front Rotors Ceramic Brake Pads TRQ BFA73362 |
| 2010 | Audi | A6 | Audi A6 with Brake Code 1ZL Front with 347mm Diameter Front Rotors Ceramic Brake Pads TRQ BFA73362 |
| 2010 | Audi | A6 | Audi A6 with Brake Code 1LG Front with 321mm Diameter Front Rotors Ceramic Brake Pads TRQ BFA73362 |
| 2010 | Audi | A6 | Audi A6 with Brake Code 1LG Front with 347mm Diameter Front Rotors Ceramic Brake Pads TRQ BFA73362 |
| 2010 | Audi | A6 | Audi A6 with Brake Code 1ZL Front with 321mm Diameter Front Rotors Ceramic Brake Pads TRQ BFA73362 |
| 2011 | Audi | A6 | Audi A6 Front with 347mm Diameter Front Rotors Ceramic Brake Pads TRQ BFA73362 |
| 2011 | Audi | A6 | Audi A6 Front with 321mm Diameter Front Rotors Ceramic Brake Pads TRQ BFA73362 |
| 2005 | Audi | A6 Quattro | Audi A6 Quattro Front Ceramic Brake Pads TRQ BFA73362 |
| 2006-2009 | Audi | A6 Quattro | Audi A6 Quattro Front with 347mm Diameter Front Rotors Ceramic Brake Pads TRQ BFA73362 |
| 2006-2009 | Audi | A6 Quattro | Audi A6 Quattro Front with 321mm Diameter Front Rotors Ceramic Brake Pads TRQ BFA73362 |
| 2010 | Audi | A6 Quattro | Audi A6 Quattro with Brake Code 1ZL Front with 321mm Diameter Front Rotors Ceramic Brake Pads TRQ BFA73362 |
| 2010 | Audi | A6 Quattro | Audi A6 Quattro with Brake Code 1LG Front with 347mm Diameter Front Rotors Ceramic Brake Pads TRQ BFA73362 |
| 2010 | Audi | A6 Quattro | Audi A6 Quattro with Brake Code 1ZL Front with 347mm Diameter Front Rotors Ceramic Brake Pads TRQ BFA73362 |
| 2010 | Audi | A6 Quattro | Audi A6 Quattro with Brake Code 1LG Front with 321mm Diameter Front Rotors Ceramic Brake Pads TRQ BFA73362 |
| 2011 | Audi | A6 Quattro | Audi A6 Quattro Front with 321mm Diameter Front Rotors Ceramic Brake Pads TRQ BFA73362 |
| 2011 | Audi | A6 Quattro | Audi A6 Quattro Front with 347mm Diameter Front Rotors Ceramic Brake Pads TRQ BFA73362 |
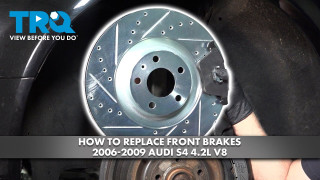
| 2004-2009 | Audi | S4 | Audi S4 Front Ceramic Brake Pads TRQ BFA73362 |
| Brand Label | Part Number |
|---|---|
| FMSI | CD1111CES |
| FMSI | CD1111 |
| Sangsin | SP2112-F |
| Raybestos Brakes | SP1111EU |
| FMSI | 7796-D1111CES |
| FMSI | D1111CES |
This item may be interchangeable with parts from other brands with the above part numbers. This information is provided only for reference and does not guarantee that the item you are purchasing is identical to parts with part numbers from the brands listed above. To confirm that this item fits your vehicle, use the above "Check Vehicle Fit" option.
Lifetime Warranty
This item is backed by our limited lifetime warranty. In the event that this item should fail due to manufacturing defects during intended use, we will replace the part free of charge. This warranty covers the cost of the part only.
FREE Shipping is standard on orders shipped to the lower 48 States (Contiguous United States). Standard shipping charges apply to Hawaii and Alaska.
Shipping is not available to a P.O. Box, APO/FPO/DPO addresses, US Territories, or Canada for this item.
Expedited is available on checkout to the United States, excluding Alaska, Hawaii.
Final shipping costs are available at checkout.
Created on:
Tools used
Brought to you by 1AAuto.com, your source for quality replacement parts and the best service on the Internet.
Hi, I'm Mike from 1A Auto. I hope this how-to video helps you out, and next time you need parts for your vehicle, think of 1AAuto.com. Thanks!
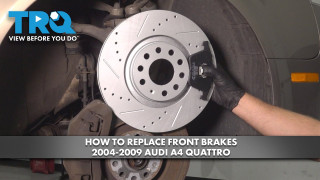
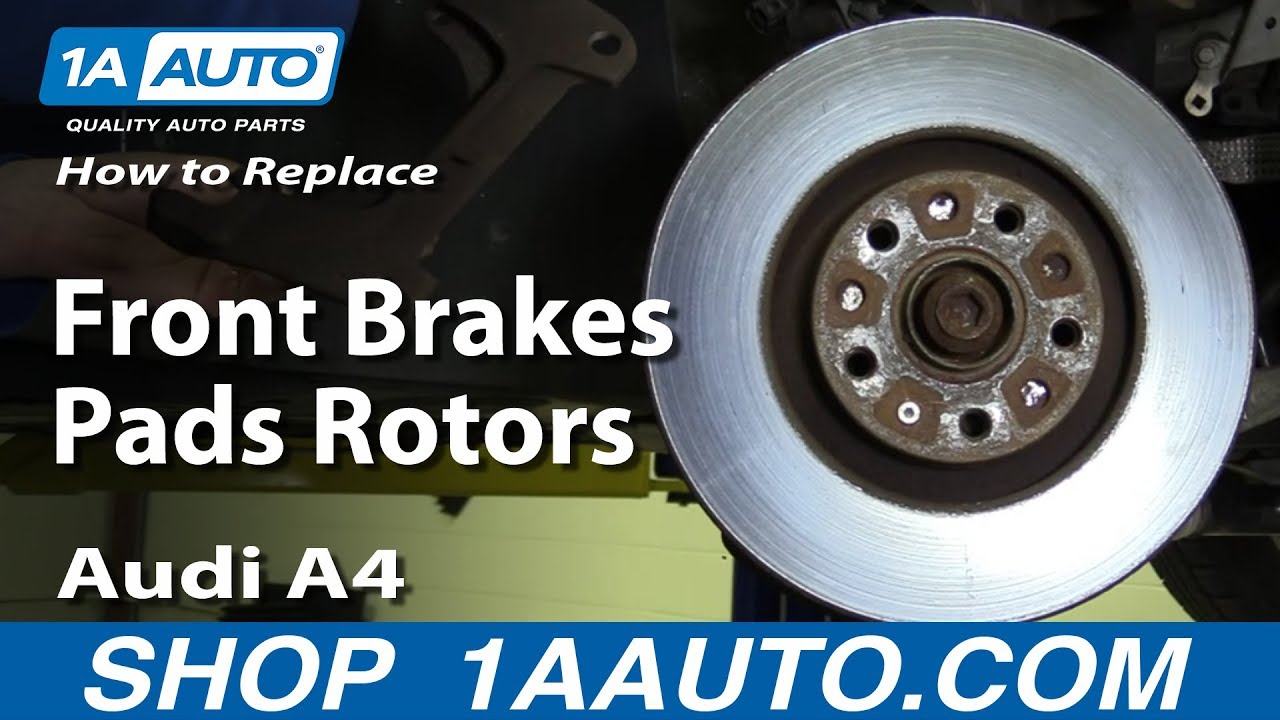
In this video we're going to show you how to remove and reassemble your brakes. This is a 2007 Audi A4. This procedure is the same for a lot of different Audi and VW vehicles. Actually, this car has pretty good brakes on it,.so we'll just be taking this stuff off and putting it back on and showing you the procedure. Items you'll need: new brakes from 1AAuto.com, new pads and rotors, 17mm socket, ratchet and a breaker bar or your tire iron to get the wheel off, 7mm Allen bit, T-30 Torx bit, large flat blade screwdriver, 21mm socket, brake clean and wire tires, jack and jack stands, torque wrench and a large C-clamp.
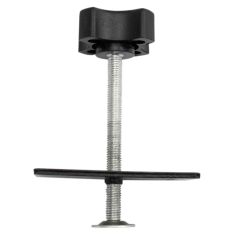
Remove the wheel. Use a special center cap removal tool, available at 1AAuto.com, or you can use a 90 degree pick. Put it into the center of the cap and pull and loosen your lug nuts; they're 17mm. Loosen with your vehicle on the ground. Raise and support the vehicle. Remove the lug nuts the rest of the way. Obviously, if you have the benefit of air tools you didn't need to loosen them up on the ground, but you can loosen them now with either a wrench or I'm going to use an impact gun. Now remove the wheel.
With the wheel and tire off you can kind of check the condition of your brakes. Just run the back of your fingernail up and down the rotor. You're feeling for any deep grooves or ridges at the edge. This is pretty smooth. You can see on my outer pad there's plenty of life here. And then you can check the condition of your inner pad right here next to the rotor, plenty back there as well. These brakes are in good condition, but we're going to take them apart and put them back together to show you.
Disconnect and remove the pad sensor connection. Push the connection tighter and then push down on this tab and release, and then you'll need to pull this tab out of the little detent, twist, pull that up and out of bracket. And then there's two 7mm Allen bolts: one up here, one down here that protect the caps. Remove the cap and again it's a 7mm Allen; remove those. You remove this retaining clip and you can do it by using a large flat blade screwdriver. Pry out one side, then you apply the center up and out. Sometimes if you have a large ridge on your rotor and your pads are worn down, you may need to just use a screwdriver and pry, which forces the piston back in. Then you should be able to lift your caliper up and off.
Use a plastic wire tie and secure the caliper up so that you don't stress the brake hose. Move the pads, the outside one, you might want to use a screwdriver, pry it out. Your inner pad has a wear sensor on it, so you just want to note how that wiring is routed and then pull it out. To remove the rotor, there's a T30 bolt here and then there's two 21mm bolts on the backside.
Again, the brakes on the vehicle are in good shape, so we're just putting them back together. Put this on here, line up that hole. Sometimes it's easier just to use a lug bolt to hold things in place. Use some brake cleaner and clean off the front and back of your rotors.
Reinstall the caliper bracket. Put some thread lock on the bolts and torque these bolts. If you have M12 bolts they should be 96 foot-pounds. This has the M14 bolts, so they're 148 foot-pounds. We want to push the piston back into the caliper, so reinstall your old pad, then use a large C-clamp, make sure you're not pushing on the brake line or anything on the back of the caliper, and tighten it up and that will force that piston back in. Then you'd remove your old pad.
Since on this vehicle the old pads are still almost brand new, we're going to leave it in there. Make sure we route this wire up and around, and then reinstall your outer pad, basically put it in place and then squeeze it in. Then just cut your caliper loose and bring it down into place. Okay, just check and make sure your sensor wire is free and you can put it back in place and reconnect it.
The caliper guide bolts, just make sure before you put them in that they slide back and forth nice and easy. If not, pull them out and put some grease on them. Get them started and torque these to 18 foot-pounds.
Replace your plastic covers. Put your spring back in. Put one side down in here and then this tab you want to get into this carrier, kind of put it in like that and then use a big screwdriver and pry down this way. That's going to hold that, hold that with my body, press in with this hand while I kind of pry down a little bit with this one. Make sure this tab goes down in.
Whenever you do work on brakes, make sure you pump your brakes, get a nice firm pedal and do test stops from 5mph and 10mph before road testing your vehicle. Install the wheel back up in place, kind of a pain because no lug studs. Twist it to line up the holes. Tighten the lug bolts preliminary. Lower the vehicle.
Now torque your lug bolts to 90 foot-pounds using a star pattern. Put your center cap back on, just note the largest space here, find the largest space between the tabs on your cap and peek in behind.
Thanks for tuning in. We hope this video helped you out. Next time you need parts for your car, please visit 1AAuto.com. Also check out our other helpful how-to and diagnosis videos.
Perfect fit. I will buy from A1 Auto again.

BFA73362
