
★★★★★
February 25, 2025
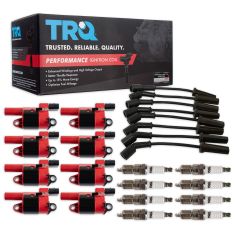
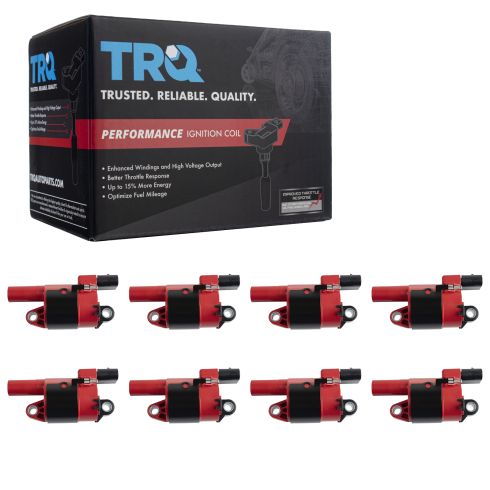
Performance coils
So far so good.
Replaces


Part Details
Specifications
About TRQ:
TRQ is a trusted brand dedicated to making every repair a success story by combining premium parts with easy installation. Each TRQ part is engineered by a team of automotive experts to meet or exceed OEM standards, delivering enhanced performance and maximum longevity. With rigorous in-house testing, the brand ensures superior fit and function across every product line. TRQ also provides customers with best-in-class, step-by-step installation videos—so you can complete repairs with confidence, whether you're a first-time DIYer or an industry professional.
Product Features
Returns: Parts with electrical components cannot be returned once installed.
Attention California Customers:
 WARNING: This product can expose you to chemicals including Lead and Lead Compounds, which are known to the State of California to cause cancer, and birth defects or other reproductive harm. For more information, go to www.P65Warnings.ca.gov.
Lifetime Warranty
This item is backed by our limited lifetime warranty. In the event that this item should fail due to manufacturing defects during intended use, we will replace the part free of charge. This warranty covers the cost of the part only.
Returns: Parts with electrical components cannot be returned once installed.
FREE Shipping is standard on orders shipped to the lower 48 States (Contiguous United States). Standard shipping charges apply to Hawaii and Alaska.
Shipping is not available to a P.O. Box, APO/FPO/DPO addresses, US Territories, or Canada for this item.
Expedited is available on checkout to the United States, excluding Alaska, Hawaii.
Final shipping costs are available at checkout.
Created on:
Tools used
We have to pop off this cover that's on top the engine. That just pops up. There's two points where it pops onto. So you just kind of get them and work them out straight from the back. Just like that. You can see here, this is where it pops on here and here and then these two tabs slide into the back. We're going to set this aside so it doesn't get broken. With our engine cover removed, you can now see the eight ignition coils on this engine. We've got four on each side. There's one, two, three, four, this is on the driver's side. We'll go over to the passenger's side. We've got one, two, three, four and the process to remove and install them is going to be the same for both sides.
This side you might have to move some of these hoses out of the way so you can get to them. But in general it should be pretty straight forward and we're going to show you that on the driver's side of the car. We're going to start by unplugging the coil. So we're going to lift up that lock, pull it out. Take my 10 millimeter socket ratchet with an extension on it, break these free. Before I take it off completely, this is our spark plug down here and the wire, I'm going to pull the wire off. Don't pull the wire, pull it by the boot. If this seems like it's stuck, you can take a small flat bladed screwdriver or if you've got a pick then just sort of work around the rubber to try to loosen it.
Go back to our ratchet, these are pretty loose so I'm just going to use the socket with my fingertips. Grab that bolt and the next bolts. We'll hold this with my other hand so it doesn't fall and we can remove the coil pack.
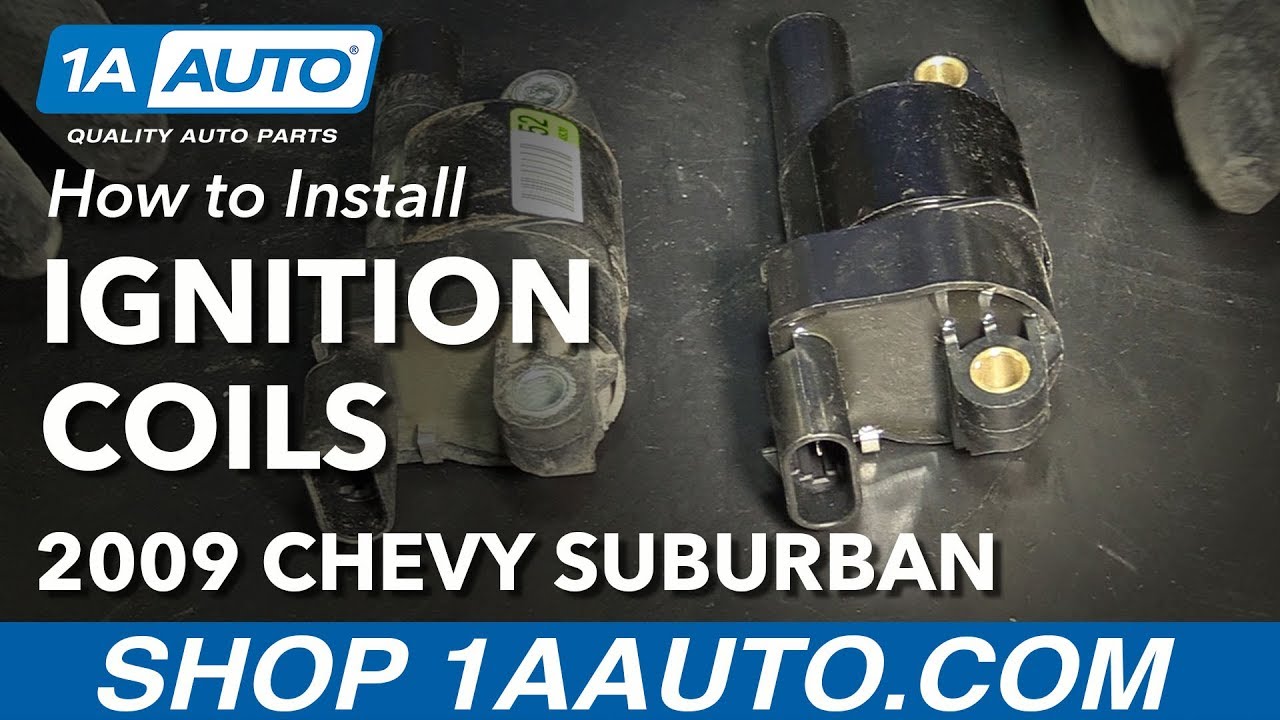
Here's our old coil pack from the vehicle and our new coil pack from 1AAuto.com. You can see the connectors are the same, it's got these nice metal inserts in the bolt holes. Same setup for the spark plug wire. This'll fit perfectly and perform great. Take our new coil place it on the bracket, it's loose, don't want it to fall. Our bolts, get them started with my fingers.
10 millimeter socket, ratchet extension just tighten these from the wrist, when they start to feel tight I'm going to stop. Going to reconnect our electrical connector at the top. Should push it in so it locks. Take our spark plug wire put it back in. That will click on, that's tight. And our new coil is installed. Okay, so now we're going to put this engine cover back on. So you've got these two little pins here and there's two little clips in the back. But this needs to slide up and into and then over these to lock it down. So it's easier to slide it to the back and get these hooked and then push it down onto these. It's got a little bit of a curve here, there's some heater hose lines on the other side that they need to go over it like this. So you basically just start it and then just slide it down and you can almost see it as it hits those hooks and then you push it over those pins and down and it's on.
Thanks for watching. Visit us at 1AAuto.com for quality auto parts, fast and free shipping, and the best customer service in the industry.
Tools used
Brought to you by 1AAuto.com, your source for quality replacement parts and the best service on the Internet.
Hi, I'm Don from 1A Auto. I hope this how-to video helps you out, and the next time you need a part for your vehicle, think of 1AAuto.com. Thanks.
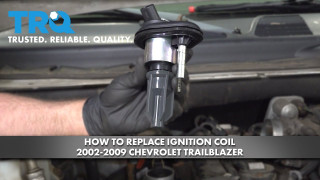
In this video, we're going to show you how to replace an ignition coil in this 2006 Cadillac CTS. It has the 2.8-liter V-6 engine, and we show you how to replace one of the harder ones, which requires you to pull up the intake plenum. You'll need new ignition coils from 1AAuto.com, various wrenches and sockets, flat blade screwdriver, and a torque wrench to put things back together.
Twist out your oil fill cap, and then pull off your engine cover. Now there's a series of 13mm bolts going all the way back, and you want to just go ahead and remove those. The ones in the back are a little hard to remove, but you want to at least loosen them up as much as you can. For the back ones, we use a small breaker bar and a shallow socket. Using a flat blade screwdriver, loosen up this hose clamp and then pull the air intake box from the front of the intake manifold. Using a 10mm wrench, just loosen up this stud and then twist it free. Then loosen this 18mm bolt. You want to loosen it enough until you can pull that bracket back.
Okay, with all five of these bolts out and that one loosened up, this bracket detached and this detached. You should be able to lift up your manifold enough to access all the coils. Loosen up the 10mm bolt on your ignition coil, and you want to get it out as much as you can and pry out on the tab on this harness and then slide the harness free. Lift up on your intake manifold and pry the ignition coil up, and now you can loosen that bolt more and pull the ignition coil free.
Now, to replace the ignition coil, we can show you on the other side. Just lower the ignition coil into place and twist the bolt back in. Make sure the ignition coil is all the way down, and reconnect the harness. You can see that if you're doing it on this side, you will need to pull that censor out. It just makes it a lot easier, and then it just pushes back in when you're done.
Once you have the harness back in place, push that clip back in. Now you can replace these bolts. We'll fast-forward as Mike does that. Now tighten each of those up preliminarily. Then just torque each of them to 20 foot-pounds. This back one, you just want to tighten firmly by hand, put the stud back in place, and tighten it up with the wrench. Then tighten up that 18mm bolt. Push the air intake box back onto the manifold, and then tighten up that hose clamp. Then take your engine cover, push it back down into place, and replace the oil fill cap.
We hope this video helps you out. Brought to you by www.1AAuto.com, your source for quality replacement parts and the best service on the Internet. Please feel free to call us toll-free, 888-844-3393. We're the company that's here for you on the Internet and in person.

ICA71262
So far so good.
They work great and look nice.
Perfect replacement.
I'm very happy with these ignition coils. I tried to stick with ACDelco but I couldn't find the coils for a decent price. So I went with these and I will tell you that I'm happy I did. I noticed a difference immediately. Time will tell how long they last. I'm hoping a 100,000.
fits like a glove works great so far.
Great looking setup in red, matchs my low resistant 8.5mm wires. Idle improved and average gas mileage went up 2mpg. My Tahoe had 150,000 miles, ran fine but gas mileage deteriated. Only time will tell how long these will last. Did not feel any more power, but the smoother running and gas mileage obviously shows these work. Half the cost of GM coils.
Works great loving the difference
seem to be good quality idle is a little better
Immediate improvement in power. Your video s/have illustrated the looseness of the electrical connection plastic parts as to trap caps/boots that aline the pins broke and one was lost?? somewhere in the engine compartment. Chev hadn't had any coil pads replaced since orig. 2009.
Runs perfect and has a little more throttle response.
For 2013 these would fit the GMC Sierra 1500 V8 6.2L , 2500 HD V8 6.0L, and 3500 HD V8 6.0L.
These round style coils are listed to fit the 2007 Chevrolet Silverado 1500 with New Body Style V8 5.3L engine.
This part will not fit your vehicle, but we may have a part that is listed to fit. Please enter your vehicle's year make and model in the search bar at the top of the page. This will display parts guaranteed to fit your vehicle. Just be sure to verify all of the information shown in the Vehicle Fit tab before ordering.
This is not the correct part for your vehicle, but we do carry the one you need. The correct part number is: ICA71259.
Yes it will
