Replaces


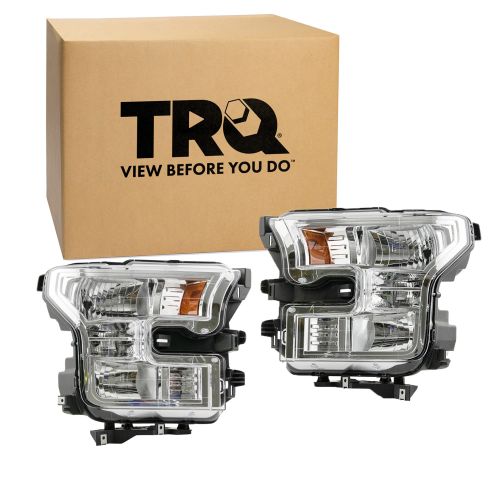
Recommended for your 2017 Ford F150 Truck
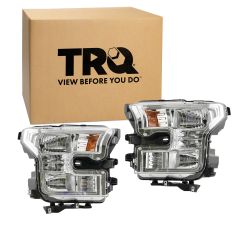
Frequently bought together
Part Details
Specifications
About TRQ:
TRQ is a trusted brand dedicated to making every repair a success story by combining premium parts with easy installation. Each TRQ part is engineered by a team of automotive experts to meet or exceed OEM standards, delivering enhanced performance and maximum longevity. With rigorous in-house testing, the brand ensures superior fit and function across every product line. TRQ also provides customers with best-in-class, step-by-step installation videos—so you can complete repairs with confidence, whether you're a first-time DIYer or an industry professional.
Product Features
Assemblies may include halogen or incandescent test bulbs that should be replaced before installation.
Attention California Customers:
 WARNING: This product can expose you to chemicals including Chromium (Hexavalent Compounds), which is known to the State of California to cause cancer, and birth defects or other reproductive harm. For more information, go to www.P65Warnings.ca.gov
Lifetime Warranty
This item is backed by our limited lifetime warranty. In the event that this item should fail due to manufacturing defects during intended use, we will replace the part free of charge. This warranty covers the cost of the part only.
FREE Shipping is standard on orders shipped to the lower 48 States (Contiguous United States). Standard shipping charges apply to Hawaii and Alaska.
Shipping is not available to a P.O. Box, APO/FPO/DPO addresses, US Territories, or Canada for this item.
Expedited is available on checkout to the United States, excluding Alaska, Hawaii.
Final shipping costs are available at checkout.

Created on:
Tools used
Hi, I'm Mike from 1A Auto. We've been selling auto parts for over 30 years. We're dedicated to delivering quality auto parts, expert customer service, fast and free shipping, all backed by our 100% satisfaction guarantee. Visit us at 1AAuto.com, your trusted source for quality auto parts.
In this video we're going to show you how to replace your headlight. This is a 2016 Ford F150. This video will help you out whether you need to just replace the headlight bulb or you want to buy a whole new replacement headlight from 1AAuto.com. We show you on the driver side; the passenger side is the same. I hope you like this video. If you do, please click subscribe. Here are the items you'll need for this repair.
Pop your hood and reach in and lift up on the lever and open the hood. On the top inner side of the headlight there is just a clip. Pull up the center with a flat blade screwdriver or a pair of pliers. The center comes out and then just carefully pry the rest of the clip up and out.
Then right in front of the rear wheel are two 7mm bolts, and remove those. Just pull firmly to the side, up to the top. Pull firmly straight out. Then at the bottom, it's a little unnerving, but you just pull firmly straight towards the front of the vehicle.
You've got a series of 10mm bolts to remove: one, two, three here, four, five and six and then this one is an 8mm. Then there's a little clip similar to the one that was on top. With a small flat blade screwdriver, pry out the middle out of the clip. Now there's some tabs here hanging out. With a pair of pliers, squeeze them and then pull this panel. This panel comes out and gives you more room.
There are three more 10mm bolts: one way inside between the headlight and grille here and then two up top. With a longer extension, you should be able to get into this one. As you get to the end, just carefully tilt it down, bring that bolt out. There is still a locking pin right in the top corner so pull with some pressure. Get that pin to unlock and then just pull out. To get the headlight back in a lot easier if you remove if you remove this panel totally. Just push these little tabs and bring it up and off.
To reinstall the headlight, put our marker back in, make sure it's fully in and twist clockwise to lock. Reconnect our harness and our top light back in, this clip back on. Then put the headlight up into place. Just be careful to line up the top corner and lock it into place.
So put this panel back on. Just have to make sure that you get these two tabs into the slots they go into. So you just have to look back in there and it's actually usually pretty easy to get this closer one on. Everything's plastic over here so you don't have to worry about your paint. Make sure these go in.
Put your three bolts that hold the headlight back in. Load this one up and you can look back in there.
The 8mm coarse thread bolt goes in there first and then your six other 10mm bolts can go back in, but as you tighten these ones up, make sure you lift up on this plastic. That'll make sure you still have a nice, tight seal between the fender and this bottom panel.
Before you put the headlight trim panel in, reinstall your clip. Then for the trim panel, just get it into place first. Make sure it comes around. Kind of peek back in and make sure the clips are going into the right place. Install the top clip and put your two 7mm bolts back in and tighten them up.
Thanks for watching. Visit us at 1AAuto.com for quality auto parts, fast and free shipping, and the best customer service in the industry.

HLA83091