Replaces


Frequently bought together
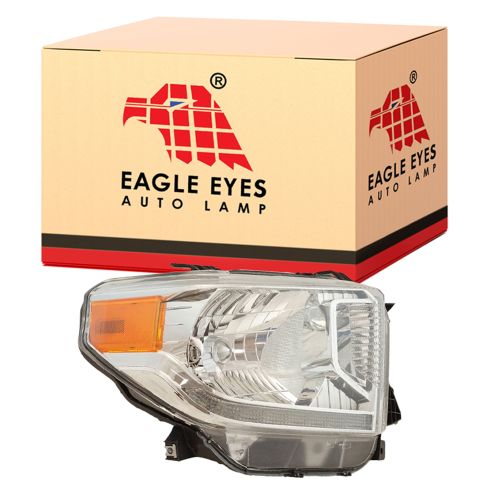
Part Details
Specifications
Assemblies may include halogen or incandescent test bulbs that should be replaced before installation.
Attention California Customers:
 WARNING: This product can expose you to chemicals including Chromium (Hexavalent Compounds), which is known to the State of California to cause cancer, and birth defects or other reproductive harm. For more information, go to www.P65Warnings.ca.gov
This item is backed by our limited lifetime warranty. In the event this item should fail due to manufacturing defects during intended use, we will replace the part free of charge. This warranty covers the cost of the part only.
The bulbs are for testing and not covered under our warranty. Our warranty applies to the light assembly only.
FREE Shipping is standard on orders shipped to the lower 48 States (Contiguous United States). Standard shipping charges apply to Hawaii and Alaska.
Shipping is not available to a P.O. Box, APO/FPO/DPO addresses, US Territories, or Canada for this item.
Expedited is available on checkout to the United States, excluding Alaska, Hawaii.
Final shipping costs are available at checkout.
Created on:
Tools used
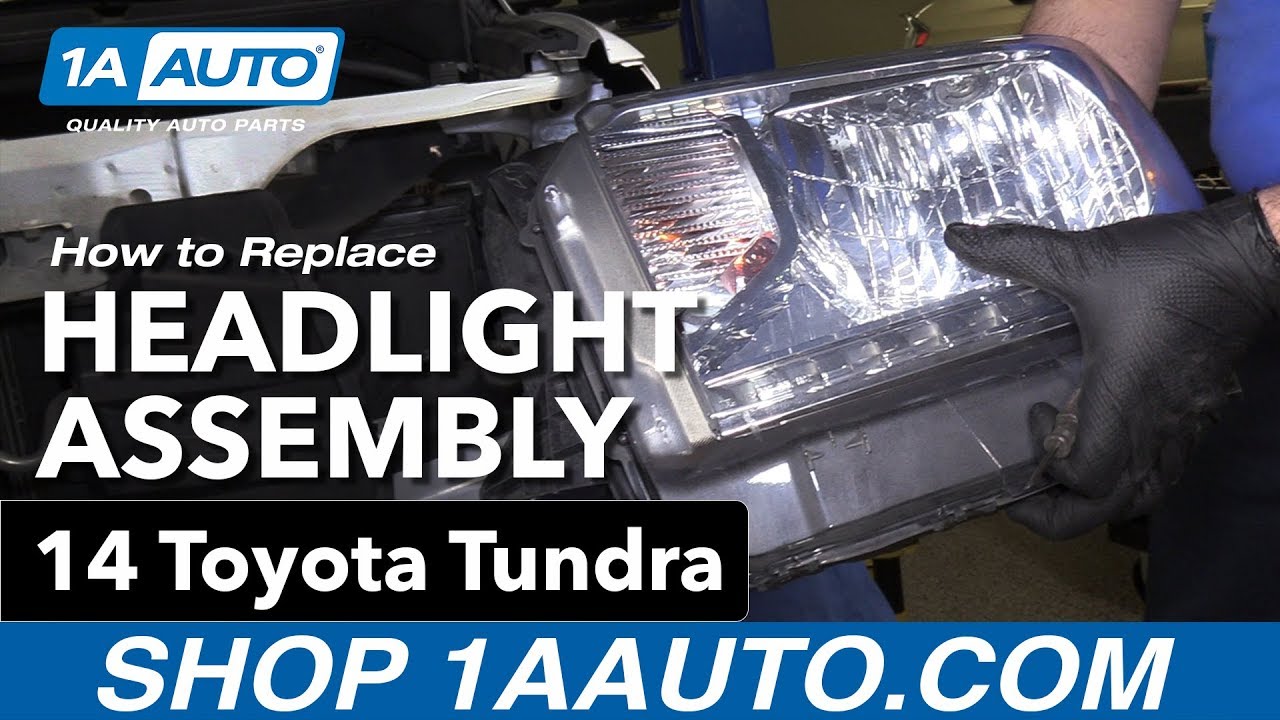
Hi. I'm Mike from 1AAuto. We've been selling auto parts for over 30 years!
Release the hood from the inside, we're going to reach under here. Push the lever up for the safety catch and then lift the hood up. It has struts. There's no hood prop rod.
To remove the grille, there are four 10 millimeter bolts along the top. They do have a Phillips head cutout in them, but I'm going to use a 10 millimeter socket extension and ratchet to remove them. Once those are removed, there are two push clips on either side on the top. Use a small, flat bladed screwdriver to pry up that clip and if these are loose enough, once they're popped up, they'll come right out. Do the same for both sides.
To remove the grille, it actually sits over these white grommets. So it's not going to want to move this way. So you kind of have to pry it up just like that. Then you pull it down away from the truck. Just going to reach in behind and there's a tab holding the lower part of the grille in and you have to – it's kind of like a tab. You can push on it. Push down. With it pushed down, it should pull out like that. So I’m basically just pushing it down to get it unlocked off this little ridge and at the same time, it's pulling out of this pin down here. I need to go do the other side. We'll do the same thing on the passenger side. When it's pushed out, pull it out of the lower pin. Lift the grille up and out. We'll put that aside.
To remove this plastic bumper cover, there are two push clips and on the inside of the fender liner, there are two 10 millimeter bolts. They do have Phillips head holes. But I'm going to use a 10 millimeter socket and ratchet to remove them. Use a small, flat bladed screwdriver to pry out these push clips. This procedure will be the exact same thing on the opposite side. With those removed, the bumper will peel outwards. For these clips along the fender edge here, you'll pop it out. It almost sounds like you're breaking it. You're just popping it off.
To remove the headlamp assembly, there are two 10 millimeter bolts on the top, again with the Phillips head cutouts. I'm going to use the 10 millimeter socket extension and ratchet and there is a single 10 millimeter bolt on this side. It does not have the Phillips head screw part. You can start with these two. Remove this one. That one doesn't want to come out. I'll just use a magnet. Get out of there.
You may want to use a rag or an old t-shirt and we're just going to put it over the metal part of the bumper because we're going to remove the headlight out to disconnect it. I can rest it on the bumper. I don't want to scratch the lens.
You're going to lift on these to pull them off the little grommets. There is a little pushed in part here. You're going to kind of lift that out at the same time and then slide the whole headlamp out and rest it right on the bumper.
To remove the entire headlight assembly, we'll unplug the plug sockets. To disconnect the electrical connectors at the plug sockets, just push in on this lock here. Sometimes if you push it in at the same time and then take it off, sometimes I use a flat bladed screwdriver to make it easier to push on it. This one just pulls straight up. Disconnect the electrical connector at the height adjustment. Push in on the lock. Disconnect the turn signal. The harness is clipped to the bottom of the headlight, so you can push in on these tabs here. You can use needle nose pliers or the flat bladed screwdriver you've been using and you can just push them in like that. Hold onto the housing so it doesn't fall, and take the entire thing out.
Reinstall the headlamp. Need it lined up here. Start with the turn signal bulb connector. It'll click when it locks in place. Get the adjustment connector on here. That'll click when it locks in place. The headlight one just pushes on. Side marker light locks in place, and then connect the harness back up. Push this in place. The lamp will go back in.
So the bottom of the headlight is going to clip into this metal tab here, into this opening down here. I'm going to get this lined up in place. Move the air guide. Readjust here. It pushes up and goes down over the grommets. The bolt without the Phillips head screw part goes in down here because that is a machine bolt and the top ones are self-tapping bolts. These two bolts are self-tapping because they're going into classic grommets. I'll just snug it up. I don’t want to strip out the plastic grommet.
Reinstall this plastic bumper corner. So it does have a lip here and I'm going to slide it behind the splash shield. I'll push it up into the clips. With our push clips pulled out like that, slide them into place. Push them in. They snap when they're locked. Reinstall the two self-tapping bolts here that hold the fender liner up and then pinch against the bumper corner.
To reinstall the grille, there are three push clips in the bottom that will push into this metal bumper support. There's a lower locking tab. This one's really stiff. You can't get to it when you remove it. This is the upper one we pushed to release. So this will go into here. This will go into here. It’s the same for both sides. You're going to get the bottom one lined up first and then line up the top. The same for this side. I'm going to push them in at the bottom. Click into place and push the top up over the white grommets.
Put the push clips back in. Reinstall all the self-tapping bolts. They're just going into plastic grommets. You don't have to over tighten them. You feeling them get tight, just stop. Do the same for all four.
Thanks for watching. Visit us at 1AAuto.com for quality auto parts, fast and free shipping, and the best customer service in the industry.

TY1240-B021R


