
★★★★★
May 17, 2021
5 Stars
Works perfectly and super easy to install. The video they sent was helpful. I received my order in 2 days!

Replaces


About TRQ:
TRQ is a trusted brand dedicated to making every repair a success story by combining premium parts with easy installation. Each TRQ part is engineered by a team of automotive experts to meet or exceed OEM standards, delivering enhanced performance and maximum longevity. With rigorous in-house testing, the brand ensures superior fit and function across every product line. TRQ also provides customers with best-in-class, step-by-step installation videos—so you can complete repairs with confidence, whether you're a first-time DIYer or an industry professional.
Product Features
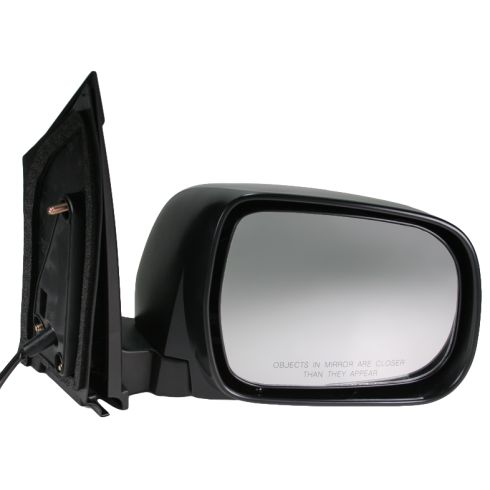
TRQ side mirrors and mirror components are designed to match the function, fixture, and performance of the original version for easy installation. TRQ mirrors are DOT certified, comply with all federal safety standards, and are independently lab tested to ensure our products comply with all government regulations. All products are fit and road-tested in our Massachusetts R&D facility to ensure we deliver on our promise of Trusted Reliable Quality.
Exact fit - To obtain proper fit and function confirm your vehicle has the exact mirror options listed.
Paint To Match Note:
"Paint-to-match finish" refers to a smooth, paintable surface. This item is not painted. Paint offers better coverage and adhesion, but it is not necessary for installation.
Attention California Customers:
 WARNING: This product can expose you to chemicals including Chromium (Hexavalent Compounds), which is known to the State of California to cause cancer, and birth defects or other reproductive harm. For more information, go to www.P65Warnings.ca.gov
This part fits 1 vehicle spanning 2004-2010.
| Year | Make | Model | Description |
|---|---|---|---|
| 2004-2010 | Toyota | Sienna | Toyota Sienna Passenger Side Power Paint to Match Mirror without Heat TRQ MRA05625 |
| Brand Label | Part Number |
|---|---|
| Toyota | 87910AE010 |
| Toyota | 87910-AE010 |
| DIY Solutions | MIR00915 |
| TYC | 5350131-1 |
| Partslink Numbering System | TO1321201 |
| Hollander | 128-61416R |
This item may be interchangeable with parts from other brands with the above part numbers. This information is provided only for reference and does not guarantee that the item you are purchasing is identical to parts with part numbers from the brands listed above. To confirm that this item fits your vehicle, use the above "Check Vehicle Fit" option.
Lifetime Warranty
This item is backed by our limited lifetime warranty. In the event that this item should fail due to manufacturing defects during intended use, we will replace the part free of charge. This warranty covers the cost of the part only.
FREE Shipping is standard on orders shipped to the lower 48 States (Contiguous United States). Standard shipping charges apply to Hawaii and Alaska.
Shipping is not available to a P.O. Box, APO/FPO/DPO addresses, US Territories, or Canada for this item.
Expedited is available on checkout to the United States, excluding Alaska, Hawaii.
Final shipping costs are available at checkout.

Created on:
Tools used
Brought to you by 1AAuto.com. Your source for quality replacement parts and the best service on the internet.
Hi. I'm Mike from 1A Auto. I hope this how to video helps you out, and next time you need parts for your vehicle think of 1AAuto.com. Thanks.
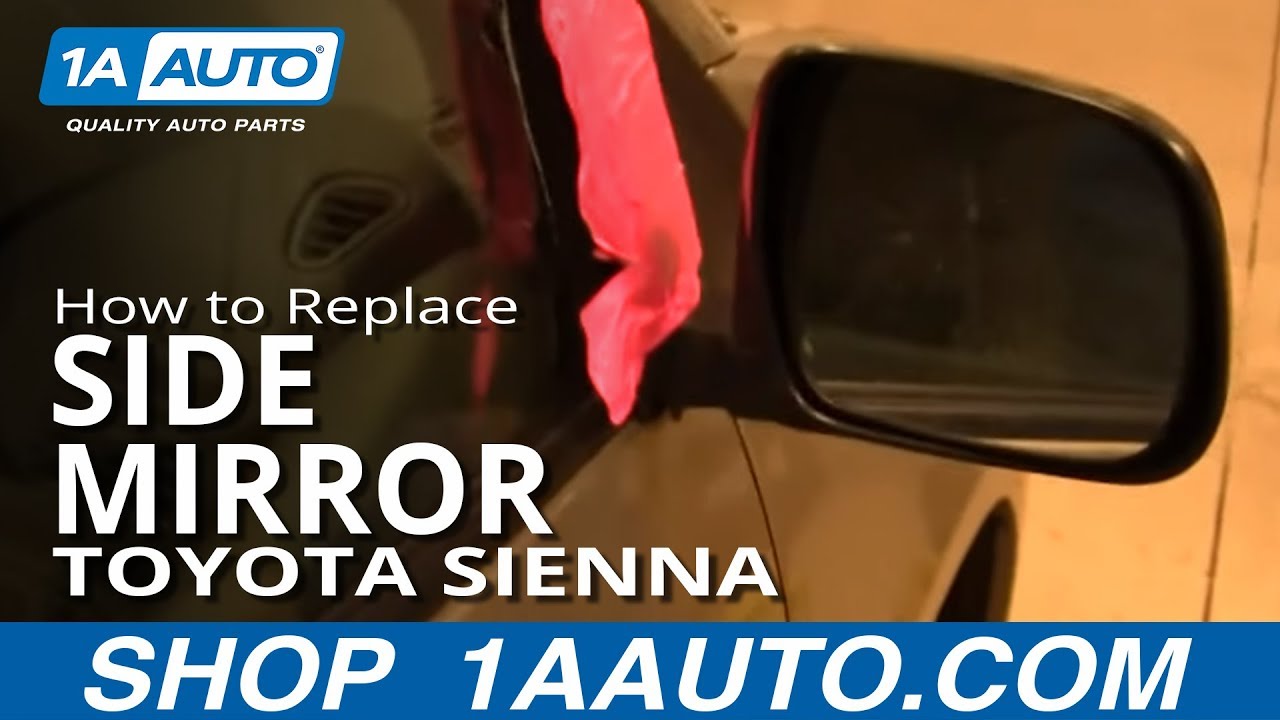
In this video we're going to show you how to replace a side mirror. You'll see the owner of this van accidentally kind of broke their side mirror and fixed up with some nice pink duct tape. Pretty easy procedure. This is a 2008 Toyota Sienna. This procedure is basically the same for any 2004 to 2010. We'll show you the driver side, passenger side. It's obviously very similar procedure. The only tools you'll need are a Phillips screwdriver, flat-blade screwdriver, and either a 10mm wrench or a 10mm socket with a ratchet.
Okay, so you can see here the owner was going for maybe some style points actually they were just looking to keep their mirror on there until their new one from 1A Auto came in. The pink duct tape does the job but let's be real it's not really what you want to have holding your car together for the long term. You need to open up, and the first thing you're going to need to do is remove the duct tape first, and after that then you're going to want to remove your inside door panel. This piece of plastic trim comes right off. You just have to pull firmly at the top, it's up and out, and then pull your inside door handle back and pry between the lock and this bezel and that bezel comes right out. Now there's three screws to remove. They are all Phillips, one right in there, one down here, and then one here, and then you're going to pry out and use your Phillips screwdriver to get this plug out in the back here. I'm just going to fast forward as I remove those three Phillips screws. The small plug on the end you need to kind of pry it, pull it out a little bit then use the screwdriver to unscrew the small center plug and then it should come out.
Grab back here firmly, work fingernails underneath or your fingers underneath and pull up firm there and then pull this back up and out, and your switch disconnects right here. Unplug this, there's a tab here, push on the tab and hold back just on the plastic ears here. Let me show you how this works. It's already reset, but this whole thing actually slides back, so once you take it apart make sure you pull this back as far as it will go. Now you see two Phillips screws right here, remove those. This cap lifts up and out of the way. There's another Phillips screw right here, remove that, and go down to the bottom here basically grab this corner, kind of lift up and out with this end down here and this end. Nice and firm. Now it comes up.
There's two cables here. Take them out of that pin there. Looking in behind here there are a little hard to film but you just pull these cables out and they rotate and come up and out, and there's one last connection right here, press the little tab. Our mirror is plugged in right here. There's a little tab, push, unplug, and actually remove the most part of the mirror. Okay, busted mirror with the pink duct tape off. Okay still you have to remove these three 10mm nuts and remove the remaining base off. Any 10mm wrench would work just fine. I prefer 10mm socket ratchet. Hold the back side. Okay, new mirror from 1A Auto one obvious benefit is the fact that the mirror and base are all one piece it's going to go on there, it's going to plug in just like the original. The other benefit or maybe you'd like the pink duct tape, but there's no pink duct tape on this one, and it's just going to right install just like the reverse. Make sure you put the harness through. It has the rubber pad and gasket, just make sure you pull the harness all the way through, it doesn't get pinched, and that the studs go in, and it comes with new bolts. Thread those on.
Okay and then tighten them up, just tighten them to get them firm, but you don't want to over tighten them. Once you basically feel it's getting tight that's when you stop, and bring this down. Make sure that's hooked back up on there, plug in the harness, and see the keys are here. Okay outside, inside, down, up it's all working correctly. Okay reinstall the door panel. Let's connect our courtesy light first, now these cables, pull them over and you put them down in first and then flip them around and lock them in place, okay, down and first. Lock in place, just test to make sure you hook them up correctly. Get the door panel closer and put the cables in to the little clip here. First make sure you push the panel against the window and slide it down in place. If it lines up there that's good, just around the edge and set the clips back in to place.
Okay now we can put it back together. This large screw's first. While tightening that just to make sure that our window switch harness is up through. Connect this piece of trim next. I'll put this screw in for the door handle. Okay now you're going to reinstall this, like I said before make sure this is pulled all the way back and the plug should go in kind of put it in but don't get in some pressure on the wires and then push the whole cage right in, and work the harness down in, put the front end first and then bring the rear down into place, snap it in. Okay now it's just a matter of two more screws. Just make sure you pull the center out away, push it in and just push that to lock it in place, and then your trim panel put it back, lock it in and then this panel, it's got a tab right here that goes down and then push it in place.
We hope this helps you out. Brought to you by www.1AAuto.com your source for quality replacement parts and the best service on the internet. Please feel free to call us toll free 888-844-3393. We're the company that's here for you on the internet and in person.
Works perfectly and super easy to install. The video they sent was helpful. I received my order in 2 days!
The side mirror was just as I expected. It fit perfectly. The video really helped but it would have been helpful to mention about the plugs in the door. When I took off the door interior, some plugs remained in the door. I had to remove the plugs and put them in the door interior.
Thank you.
I had my item delivered overnight. Received package in the morning and arranged installation that took 20 minuyes. Very satisfied with order procedure, delivery and quality of the product.
Simple to install if you watch the you tube videos. I did stupidly drop a screw in the door putting last part on and had to take door off. But that is my clumsiness. The shop was quoting me $260 dollars including part. Would have finished in about 45 minutes had I not dropped the screw lol. Oh and to all you women out there. I did it, just follow the video.
Recently, an incident left my vehicle in need of a repair on its passenger side mirror. I do the majority of the maintenance on the vehicle myself, but due to time constraints, I decided to call the dealer to see how much they would charge. They quoted me an outrageous $495 for a simple mirror fix, citing a part cost in the hundreds, hours of labor, and painting, even though the mirror comes stock as the color it needs to be on my vehicle. I found the same part on 1A Auto's website for a fraction of the price quoted by the dealer. Using their helpful instructional video, I was able to replace the mirror in 30 minutes, saving me hundreds of dollars in mendacious dealer fees. I would highly recommend the services provided by the team at 1A Auto.
Price is good, packing is well done, received in a timely matter. I Will use this site
I received my 2008 Sienna power mirror passenger side with in a week after ordering, packing was professional and after watching YouTube video for installation I was able to replaced my broken mirror with in 15 minutes. 1A auto parts are the best and prices are very reasonable. I am recommending to my other friends. Prior to replace my mirror I took my vehicle to the Toyota dealer and their estimate was $500 to replace mirror, I paid $49.95 to 1A auto and they sent me the same new mirror and I replaced by myself with the help of 1A auto installation video on YouTube. Thank you 1A auto.
Just what I needed. The online video took me step by step through the install. Easy as can be.
I Placed the order on a Saturday and got it on Wednesday during the day. The piece came in excellent conditions. Took me around 20 minutes to take out the broken side mirror and install the new one. I had already found a YouTube video with step by step instructions. Saved myself a lot of money! Thanks!

MRA05625
This will work for all models that have power non-heated mirrors existing. We do have a 60 day money back guarantee! Have a great day!
