Replaces


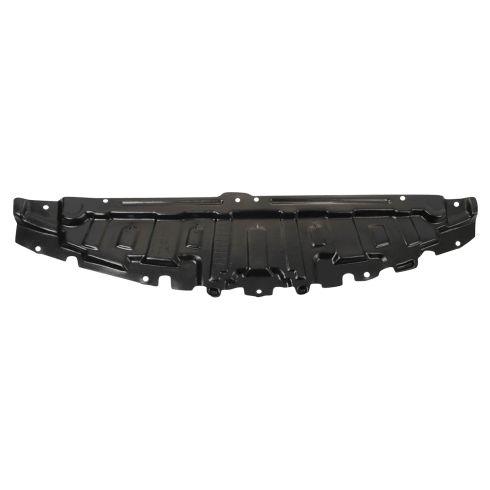
Part Details
About TRQ:
TRQ is a trusted brand dedicated to making every repair a success story by combining premium parts with easy installation. Each TRQ part is engineered by a team of automotive experts to meet or exceed OEM standards, delivering enhanced performance and maximum longevity. With rigorous in-house testing, the brand ensures superior fit and function across every product line. TRQ also provides customers with best-in-class, step-by-step installation videos—so you can complete repairs with confidence, whether you're a first-time DIYer or an industry professional.
Attention California Customers:
 WARNING: This product can expose you to chemicals including Lead and Lead Compounds, which are known to the State of California to cause cancer, and birth defects or other reproductive harm. For more information, go to www.P65Warnings.ca.gov.
Lifetime Warranty
This item is backed by our limited lifetime warranty. In the event that this item should fail due to manufacturing defects during intended use, we will replace the part free of charge. This warranty covers the cost of the part only.
FREE Shipping is standard on Orders shipped to the lower 48 States (Contiguous United States). Standard shipping charges apply to Hawaii, Alaska and US Territories. Shipping is not available to Canada.
Expedited is available on checkout to the United States, excluding Alaska, Hawaii and US Territories as well as P.O. Boxes and APO/FPO/DPO addresses. Final shipping costs are available at checkout.
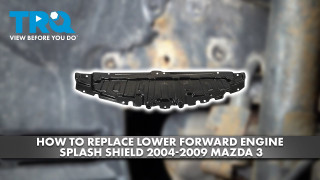
Created on:
Tools used
Hi. I'm Mike from 1AAuto. We've been selling auto parts for over 30 years!
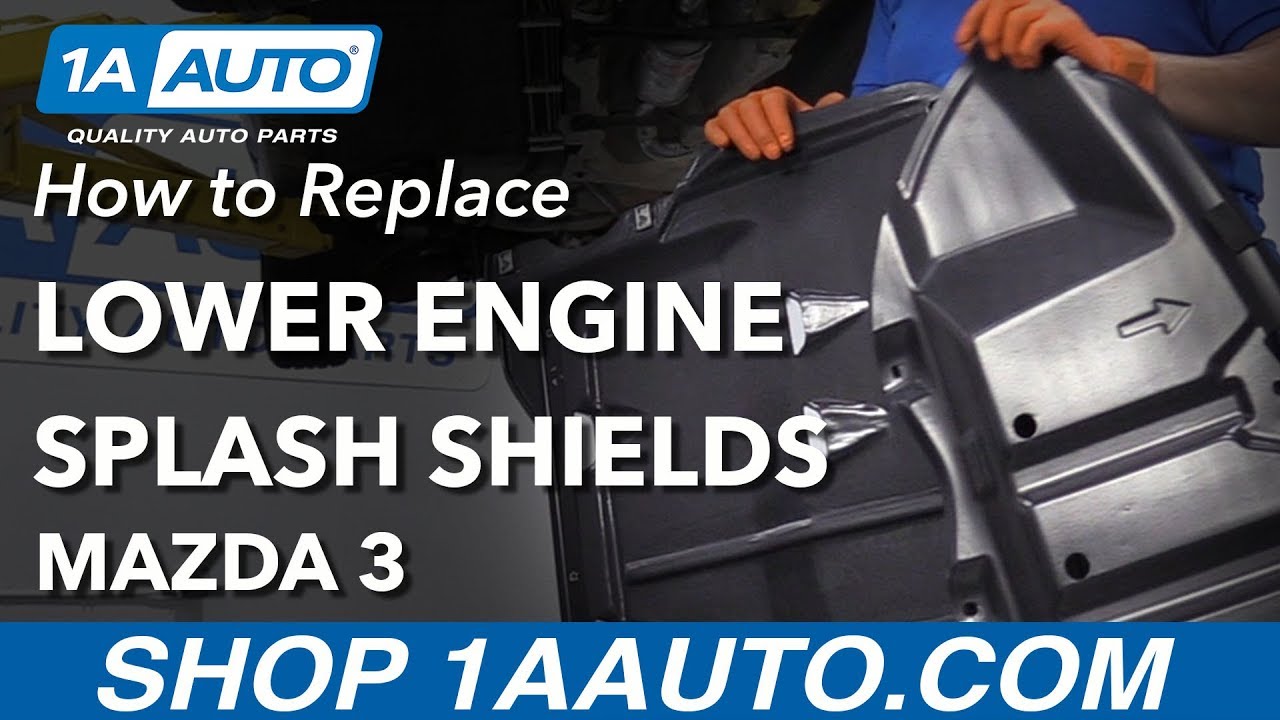
Hi, everyone. Sue here at 1A Auto, and today we're replacing the splash shields under the undercarriage of our '07 Mazda3. As you can see, the old ones are quite worn from New England weather. We got these at 1AAuto.com, so if you need these parts, or any other parts for your car, click on the link below. Come on over to 1AAuto.com.
On this particular car, someone's been in here before, trying to reinforce the undercarriage splash shield, so they have a lot of aftermarket hardware. There's various, from 13 millimeter sockets to 8 Phillips screwdrivers. So, your vehicle’s, if it's factory, are different sizes, and if you've done some repairs, or you have a used vehicle, you might have different sizes. So, it all varies. There we go.
The front splash shield and the back splash shield are stuck together, because this bolt is completely rusted in the clip. I'm going to take them both down together, and that way I can access the backing clip a lot easier.
I’m going to reassemble the front splash shield. Put this one up first. All right. Put the center bolt in first. There's five total here. You guide everything up. It looks like the this. The end tabs go over the plastic. Yeah. That one fell into place naturally.
Now I can start my bolts. I'm probably going to tighten this one. Okay. That one's in. There we go. This side shield's broken. There we go. Okay. It doesn't help when the bumper's been crushed a little bit. There we go. Sweet.
There should be four of these. Two on both sides, but the passenger side, the inner fender wall has been cut out, in this thing, so I'm going to use some plastic wire ties. Someone already pre-drilled some holes, so I'm just going to put them right through the body clip. Put a new one on the front. Cut the ends off. Get that clip in. There you have it. We're done.
Thanks for watching. Visit us at 1AAuto.com for quality auto parts, fast and free shipping, and the best customer service in the industry.

BDA12069