Brought to you by 1AAuto.com, your source for quality replacement parts and the best service on the Internet.
Hi, I'm Mike from 1A Auto. I hope this how-to video helps you out, and next time you need parts for your vehicle, think of 1AAuto.com. Thanks!
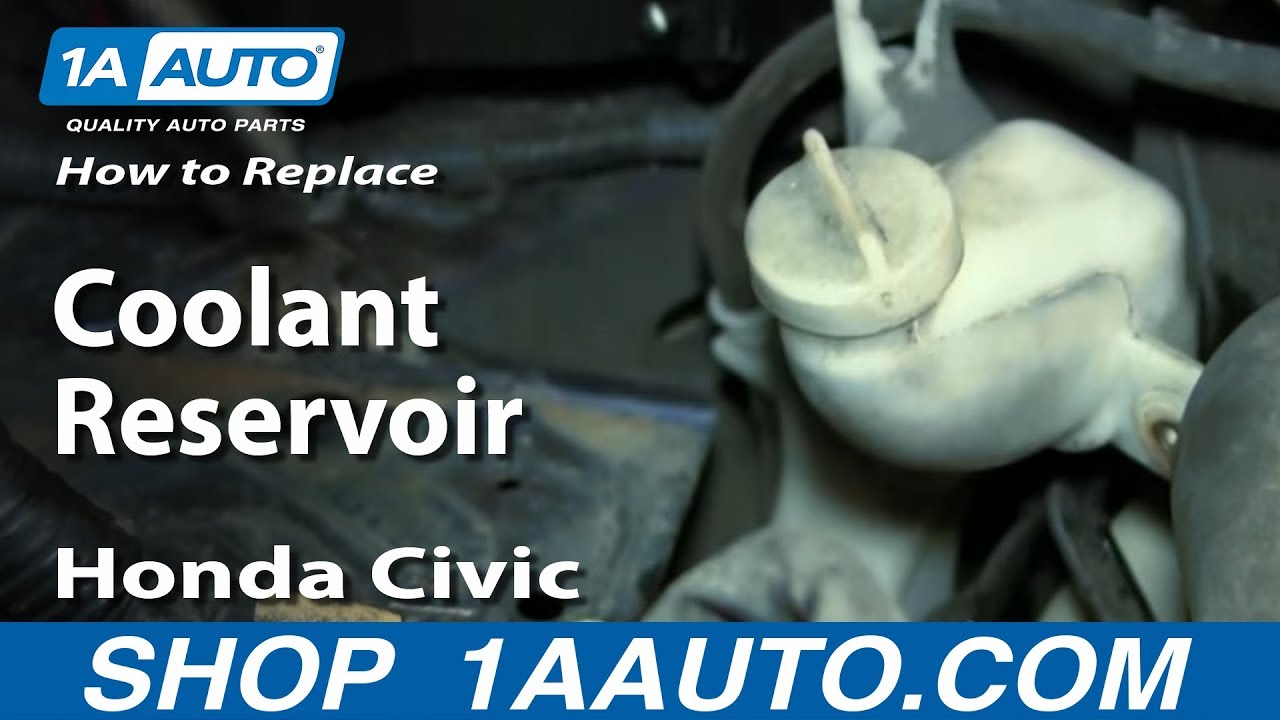
In this video, we're going to show you coolant tank reservoir replacement. This is a 2003 Honda Civic and it's the same for the '01 to '05 Civic sedan, as well as coupe. Items you'll need are a new coolant reservoir from 1aauto.com, a 10 millimeter socket with a ratchet and extension, and a pair of pliers. You may find you need some penetrating oil as well.
10 millimeter wrench, loosen your negative battery cable first, pull it up off and remove it. We obviously coated these with some penetrating oil beforehand and let it sit.
For your positive battery cable, I've got a larger wrench to hold on to the bolt from this side, and then loosen it up and disconnect your positive cable second, pull it off. This little clip should be holding the harness in place, so you just pull this clip up and off and just push them down so they don't come back and hit the battery. 10 millimeter bolt to remove here and then 10 millimeter nut here.
Obviously, I spread it once with some penetrating oil. Spray down a little bit more and let it sit. 10 millimeter wrench would work. I'm going to use 10 millimeter socket, deep socket with a ratchet and extension. Remove the bolt first. We're lucky enough. I did spray it down, but the way it was put together is actually just a hook at the bottom so you can unhook that and pull the retainer up and off. Then this little protective cover comes off as well. Now you can lift your battery up and out.
Remove the rest of your battery retainer, and there's a 10 millimeter bolt holding the reservoir right here. The bolt's here, the back side is right there. It might help to just hit it with a little bit of penetrating oil. Remove the bolt with your socket and ratchet and extension. Lift it up and out and just unclip the hose as you go. It's just a little wire clip. Sometimes you can actually just use your fingers and pull it off towards the bottle. Then a pair of pliers will help you just break this hose loose and then twist and pull it off.
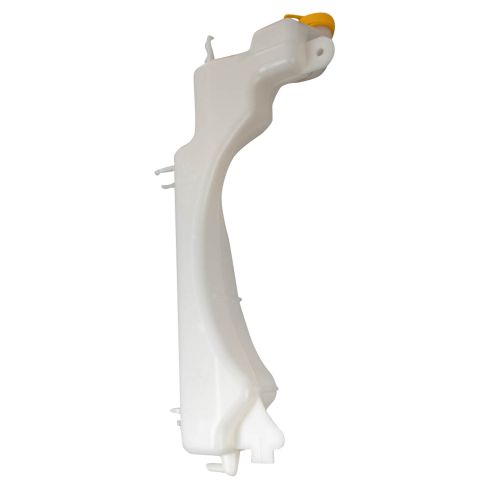
Old part from the vehicle, new one from 1A Auto. You can see it's exactly the same, same mounting points and has all the same clips, same nipple to install it. Just need to take our old clip and put it on there. But it's going to be a very good functional replacement.
Put the clip in place, the hose down on. Again, a lot of times you can just use your fingers on this clip. Sometimes you might want to use a pair of pliers, squeeze it, even twist it a little bit. It's on the hose. Just get it into place. There you go. Go lower it down in place, clip the hose in as you go. There, this one goes in there and down in. Then clip this in up here. The tab here on your bottle and that tab goes down into a slot right here. Then just look down in, make sure that tab goes into the slot. Replace the 10 millimeter bolt. Tighten that up and then refill your reservoir with a new one. It's a lot easier to see with the new reservoir. It'll be a lot easier to see your fluid level in here. This is the max line and that's your minimum line.
Battery in place. Just make sure it's staying steady. Put this down in. The hook goes down and in and reinstall your 10 millimeter bolt, tighten it up. Reconnect your positive cable first and your negative cable and tighten up and tighten. This actually should be attached to the harness here, goes on here and you would just use some tape and we can tape that back on.
Thanks for tuning in. We hope this video helped you out. Next time you need parts for your car, please visit 1AAuto.com. Also check out our other helpful how-to and diagnosis videos.