
★★★★★
March 14, 2026
Front shocks
Installed shocks,fit right in.im happy.now I gotta order the back shocks for my truck.thank you

Replaces






About TRQ:
TRQ is a trusted brand dedicated to making every repair a success story by combining premium parts with easy installation. Each TRQ part is engineered by a team of automotive experts to meet or exceed OEM standards, delivering enhanced performance and maximum longevity. With rigorous in-house testing, the brand ensures superior fit and function across every product line. TRQ also provides customers with best-in-class, step-by-step installation videos—so you can complete repairs with confidence, whether you're a first-time DIYer or an industry professional.
Product Features
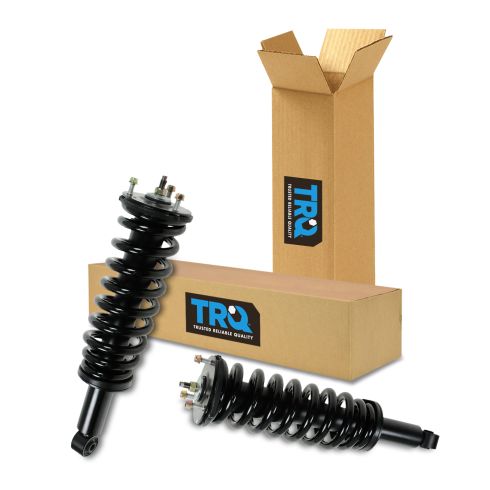
TRQ fully loaded shocks and struts are manufactured using premium raw materials and calibrated to restore original ride comfort. TRQ shocks are fully loaded featuring a pre-loaded bearing plate, upper and lower spring isolator, upper spring seat, coil spring, boot kit, and premium strut. TRQ recommends replacing your shocks or struts in pairs to ensure even wear of components and improved ride comfort. All products are fit and road-tested in our Massachusetts R&D facility to ensure we deliver on our promise of Trusted Reliable Quality.
Replacing struts used to require specialized tools to compress, remove, and transfer the old spring and mount. Our Pre-assembled, complete strut & spring assemblies come with all new parts and make the job much quicker and easier for the do-it-yourself mechanic.
Strut & spring assembly contains:
Attention California Customers:
 WARNING: This product can expose you to chemicals including Chromium (Hexavalent Compounds), which is known to the State of California to cause cancer, and birth defects or other reproductive harm. For more information, go to www.P65Warnings.ca.gov
This part fits 1 vehicle spanning 2000-2006.
| Year | Make | Model | Description |
|---|---|---|---|
| 2000-2006 | Toyota | Tundra | Toyota Tundra Front Driver & Passenger Side 2 Piece Strut & Spring Assembly Set TRQ SCA57021 |
| Brand Label | Part Number |
|---|---|
| Monroe Shocks & Struts | 171347R |
| Monroe Shocks & Struts | 181347R |
| Monroe Shocks & Struts | 171347L |
| Monroe Shocks & Struts | 181347L |
| Unity Automotive | 11931 |
| Unity Automotive | 11932 |
This item may be interchangeable with parts from other brands with the above part numbers. This information is provided only for reference and does not guarantee that the item you are purchasing is identical to parts with part numbers from the brands listed above. To confirm that this item fits your vehicle, use the above "Check Vehicle Fit" option.
Lifetime Warranty
This item is backed by our limited lifetime warranty. In the event that this item should fail due to manufacturing defects during intended use, we will replace the part free of charge. This warranty covers the cost of the part only.
FREE Shipping is standard on orders shipped to the lower 48 States (Contiguous United States). Standard shipping charges apply to Hawaii and Alaska.
Shipping is not available to a P.O. Box, APO/FPO/DPO addresses, US Territories, or Canada for this item.
Expedited is available on checkout to the United States, excluding Alaska, Hawaii.
Final shipping costs are available at checkout.
Created on:
Tools used
Hi, I'm Mike at 1A Auto, we've been selling auto parts for over 30 years.
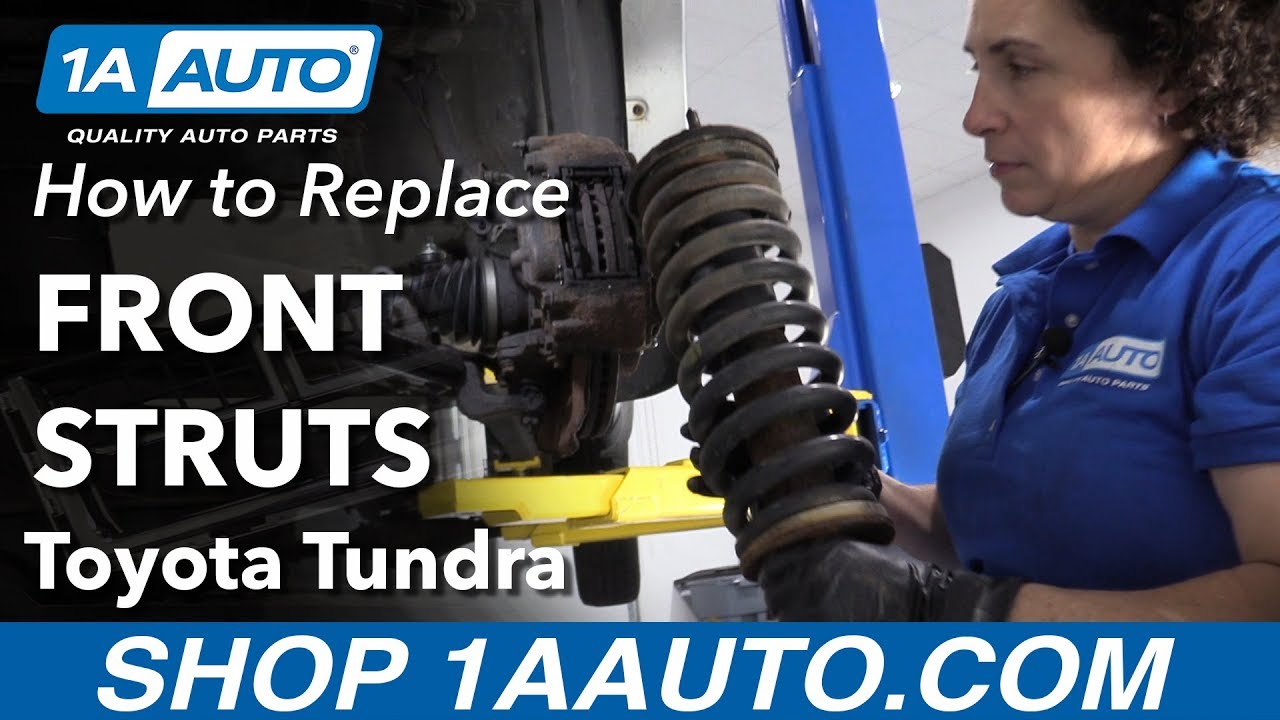
Hi everyone, Sue here at 1A Auto, and today we're putting front strut assemblies in our oh three Tundra. If you need this part or any other part for your car, click on the link below and head on over to 1AAuto.com.
Taking the wheel off, it's a 21mm socket. I like to loosen them up in the star pattern, even though that's how you mount them, I still take them off the same way. And make sure the weight of the vehicle's on the truck tire, and loosen up the lug nuts, we're not taking them all the way off, we're just loosening them. At home you can use a jack with jack stands, I have a two post lift I'll be raising my vehicle with.
Now with the vehicle up in the air it's safe for me to take the lug nuts off by hand. I'll just take them all off and then set them aside.
Now with the lug nuts off it's safe to pull the tire up, so we're gonna loosen the top of the strut assembly. There's three fourteen millimeter socket nuts up here, not the center one, don't touch the center one, that is the compression for the holding the spring onto the strut. We're just going to undo, it's like a triangle, exactly three nuts, fourteen millimeter socket. It's the back one you can't get a socket on, you can only get it with a wrench, so I have a fourteen millimeter wrench, slide it over that for the best. Once you get these all the way off, and we'll move down to the bottom mounting bolt.
Now the bottom mounting bolt is a 19mm socket, and I gotta get a wrench because the bolt is moving. Now I put a 19mm wrench on the head of the bolt that goes through the other side, I'm just gonna hit the bolt out there, then I get a center punch and continue that out. I got a brass punch and I'm gonna punch that bolt out, hopefully. So I see what's happening here, it's bottoming out on the axle.
Now that I've chiseled, will not chiseled, but pun took us, set a punch and brass punch and push that little bolt out, the control arm popped up a little bit, and just basically guide out your strut assembly.
Here we have our new strut assembly for our oh three Tundra from 1A Auto, and here's the factory one. They built the same height, they have the same three mounting bolts, the one from 1A Auto comes with brand new three locking nuts.
Nice set of bushing pressed in, the little bolt goes as the factory ones been worn out for a while now, so if you need this part or any other part for your car, click on the link below and head on over to 1AAuto.com.
So make sure you line up the top studs to the actual mounting plate up on top, and make sure the the bottom bolt will be going in the bracket, that angle. As these aren't that light, so you don't want to be holding that up there, and let me, nothing line up there, we go.
So in order to line this up, I just took a pry bar and I just rested it lightly on the caliper, doesn't take a lot of strain, and I just wiggle it up and down. While I'm doing that, I'm just going to tap it in. Perfect.
Okay, now I'm gonna get the bolt. I'm gonna make my life easy, and I'm gonna put the bolt in this way because it hits the axle, other than that, think I can hit that in with a hammer. I'm gonna add the flat washer and then the nut on the back.
So the only reason I would think that they want the bolt going this way is because of the stud hanging out and the possibility of hitting the axle boot. I think it has plenty of clearance, but I will double-check that.
I'm gonna put the tire on and lower this before I go down the road, and I'll turn the radius both ways and get firm, this has plenty of distance so it doesn't hit that.
Now with the bolt and nut bottomed out, I'm going to torque this to a hundred foot-pounds. Okay, nut is turning, this will have to leave the wrench on there, there is a hundred foot-pounds.
We'll move up to the top three bolts, nuts. The nuts on this strap assembly our 15mm socket, so it changed from 14 to a 15. You have to get that back one with a ratchet wrench.
Okay, now we're going to get the torque wrench and torque these 49 foot-pounds. All right, so correction, it is 47 foot-pounds for the top running, so I had my glasses on.
I'm gonna have to put a long socket on that, give that back one. Whew. So the back one, obviously I can't get a torque wrench in there, I'm just, obviously I saw how much I had to really put into it for that one, so I'm gonna give it the hopefully a same amount. Yeah, that is not going off.
Now it's time to put the tire back on.
This is an alloy alloy wheel, so you have a seat on the lug nuts, aluminum, the metal piece, and goes into the wheel. Also definitely do it by hand, guide it in, and know that it's it's seated. I do two of them, and that way when I go to lower and tighten it, it's not off-center.
Now, if my lug nuts hand tightened in the truck on the ground, pressure on the tire, so the truck's not fully lowered, just pressure on the tire, I'm gonna talk each lug nut to a hundred and ten foot-pounds. That's the manufacturer of torque specs for this vehicle. I'm gonna tighten in the star pattern just seats on the hub properly. I like to double-check one last time, and you're all set.
Thanks for watching. Visit us at 1AAuto.com for quality auto parts, fast and free shipping, and the best customer service in the industry. You

Installed shocks,fit right in.im happy.now I gotta order the back shocks for my truck.thank you
Excellent product. Easy to install. The install video was very helpful.
Great product
Install was simple and parts fit without any issues. The online video explained the process and make me confident I could complete the job. I'm very happy with the entire process and will definitely use 1A Auto again.
Perfect fit.
Parts were great fit
It took me a few days but when I finally got my front strut shocks on I realized I waited a little too long. Nevertheless was so pleased what a difference it made in driving plus riding so smooth! Thanks 1AAuto for an excellent strut for a great price!
Great
Shocks and spring were solid! But the lower bushing was so soft that the shocks bottomed out with every dip in the road. I wound up going back to the BIlstein coil overs on my truck that it originally came with. I have the TRD package and the ride was stiff and these shocks really softened it up. Felt like I had lost some stability.
Great struts fit great am glad I got parts from A-1 Auto

SCA57021
Yes, this part will fit your vehicle.
Out of the box they have decals indicating right / left . Besides first gen tundras 2000-2006 are not side specific so you cant get them wrong.
Yes, but it'll nosedive the front. Better the buy factory springs and Bilstein Shocks looking out for these 2uz's
This part will not fit your vehicle, but we may have a part that is listed to fit. Please enter your vehicle's year make and model in the search bar at the top of the page. This will display parts guaranteed to fit your vehicle. Just be sure to verify all of the information shown in the Vehicle Fit tab before ordering.
Yes, this part will fit your vehicle.
Yes I used them on one
This part will not fit your vehicle, but we may have a part that is listed to fit. Please enter your vehicle's year make and model in the search bar at the top of the page. This will display parts guaranteed to fit your vehicle. Just be sure to verify all of the information shown in the Vehicle Fit tab before ordering.
We recommend checking your owners manual, we do not have the specs available. Thank you for the inquiry!
Yes, according to the information you provided, this part will fit your vehicle.
We do not have measurements or bolt sizes available as a specification for these, however, they are built to exact OE specifications and the bolts will be the same size as the originals as long as these are listed to fit your vehicle.
