



★★★★★
September 29, 2025
Everything was great...delivery time, they fit perfect and were very easy to install. thank you so much. We will use you whenever we need parts.

Replaces
Part Details
About TRQ:
TRQ is a trusted brand dedicated to making every repair a success story by combining premium parts with easy installation. Each TRQ part is engineered by a team of automotive experts to meet or exceed OEM standards, delivering enhanced performance and maximum longevity. With rigorous in-house testing, the brand ensures superior fit and function across every product line. TRQ also provides customers with best-in-class, step-by-step installation videos—so you can complete repairs with confidence, whether you're a first-time DIYer or an industry professional.
Product Features
Assemblies may include halogen or incandescent test bulbs that should be replaced before installation.
Attention California Customers:
 WARNING: This product can expose you to chemicals including Chromium (Hexavalent Compounds), which is known to the State of California to cause cancer, and birth defects or other reproductive harm. For more information, go to www.P65Warnings.ca.gov
This part fits 1 vehicle spanning 1999-2004.
| Year | Make | Model | Description |
|---|---|---|---|
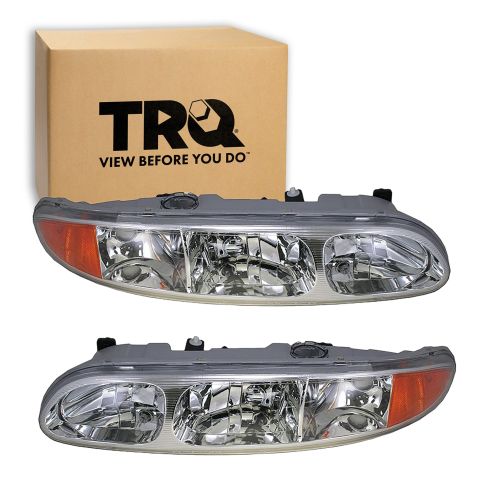
| 1999-2004 | Oldsmobile | Alero | Olds Alero Driver & Passenger Side 2 Piece Headlight Set TRQ HLA79829 |
| Brand Label | Part Number |
|---|---|
| Partslink Numbering System | GM2503207 |
| Partslink Numbering System | GM2502207 |
| Maxzone | 336-1107R-AS |
| Hollander | 114-00589R |
| Oldsmobile | 22689651 |
| Maxzone | 330-1110L-AS |
| Eagle Eye Lights | GM227-B001R |
| TYC | 20-5673-00 |
| Hollander | 114-00600BL |
| Hollander | 114-00560R |
| Hollander | 114-00594L |
| Maxzone | 336-1107L-AS |
| Eagle Eye Lights | GM227-B001L |
| Partslink Numbering System | GM2502203 |
| Hollander | 114-00560L |
| Oldsmobile | 22689652 |
| Partslink Numbering System | GM2503203 |
| TYC | 20-5674-00 |
This item may be interchangeable with parts from other brands with the above part numbers. This information is provided only for reference and does not guarantee that the item you are purchasing is identical to parts with part numbers from the brands listed above. To confirm that this item fits your vehicle, use the above "Check Vehicle Fit" option.
Lifetime Warranty
This item is backed by our limited lifetime warranty. In the event that this item should fail due to manufacturing defects during intended use, we will replace the part free of charge. This warranty covers the cost of the part only.
FREE Shipping is standard on orders shipped to the lower 48 States (Contiguous United States). Standard shipping charges apply to Hawaii and Alaska.
Shipping is not available to a P.O. Box, APO/FPO/DPO addresses, US Territories, or Canada for this item.
Expedited is available on checkout to the United States, excluding Alaska, Hawaii.
Final shipping costs are available at checkout.


Created on:
Tools used
Brought to you by 1AAuto.com. Your source for quality replacement parts and the beset service on the internet.
Hi. I'm Mike from 1A Auto. I hope this how-to video helps you out and next time you need parts for your vehicle think of 1AAuto.com. Thanks.
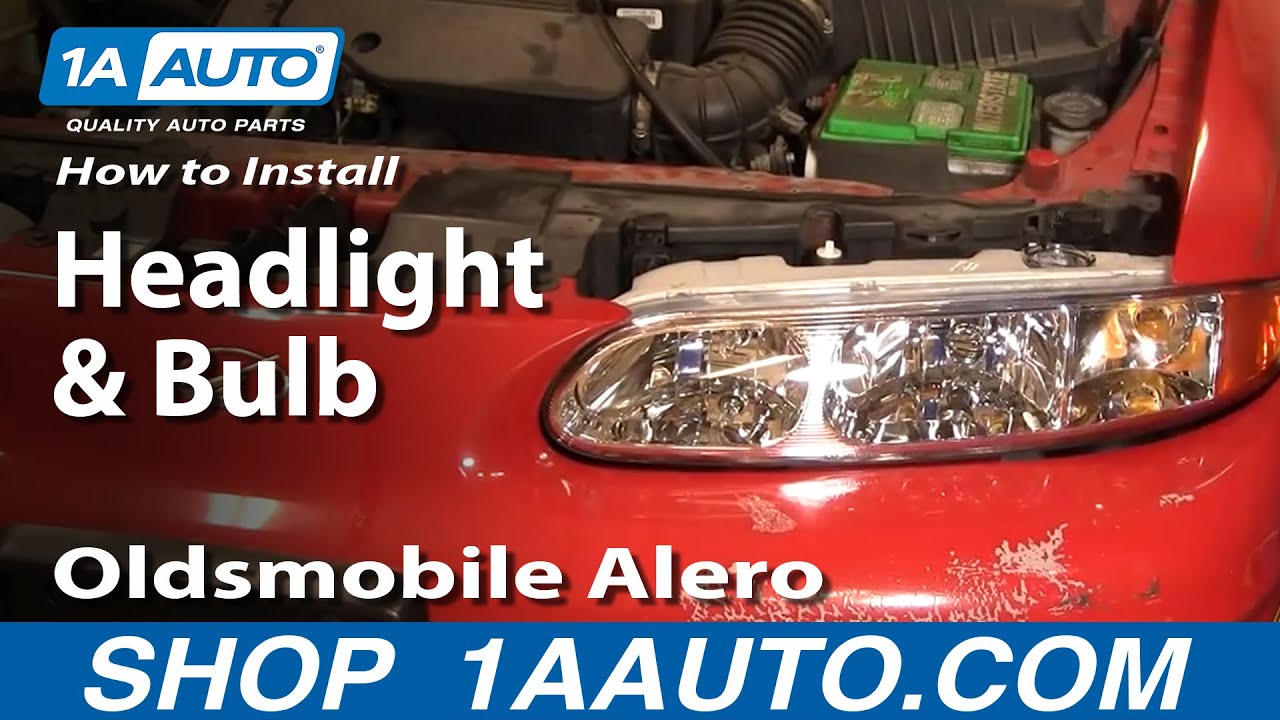
In this video we are going to show you how to service the headlights on this 2000 Olds Alero. This procedure is the same for 2 and 4-door vehicles as well as '99 to '04 Alero. To just service the bulbs you don't need any tools. If you are going to replace your headlights due to them fogging or being dim or whatever or broken, you'll probably need a 6 millimeter socket to adjust the lights.
These headlights are very easy to service with your hood open, there are two tabs right here. You pull up on them. You may have to pull up just a little bit more and then just go up and down with them a little bit until your light pulls out. Then the light starts to pull forward. Okay, over here on this side you'll see a plug and there's a tab towards the inside of the car. Lift up with your thumb on that tab. That's the tab tight there, just lift up with your thumb and pull that out. Okay, then over here are two terminals. You just twist counter-clockwise. This one you have to press on a tab here, twist counter-clockwise and your whole assembly comes out.
Okay, if you are just looking to service one of these bulbs, they just pull out and the new one pushes back in. The same with this smaller one; pulls out, pushes back in. If you are looking to service your headlight bulbs, take these covers off, twist the bulb counter-clockwise and then pull out. Then disconnect the bulb just by pulling back on the tab. Reconnect, put back in, make sure you are in the right spot, push in the center of it, lock it back in and it is the same thing for this one.
Changing your bulbs is one thing; maybe you are not happy with your visibility at night with the faded and clouded lights. Nice new lights from 1A Auto. They'll go right in. Put it in place a little bit. Start peeling off the plastic. Make sure you plug these lights in first. Larger one goes towards the inside, get it in there correctly, twist it to lock; side marker goes in, twist to lock. Connect your harness over here. If you have trouble with these clips at all, sometimes just spraying a little bit of oil in here will help things go together a little easier.
Okay, once your headlights installed you can see that there's a little level and there's a little bubble of air and you turn the inside one, turn it counter-clockwise to go down. You can see get that bubble in the middle. You want to do this obviously when your car is on a level surface. That should be like that. This adjuster here adjusts your headlights left and right and you obviously want the beams pointing straight forward.
We hope this helps you out. Brought to you by 1AAuto.com. Your source for quality replacement parts and the beset service on the internet. Please feel free to call us toll-free 888-844-3393. We're the company that is here for you on the internet and in person.
Everything was great...delivery time, they fit perfect and were very easy to install. thank you so much. We will use you whenever we need parts.
