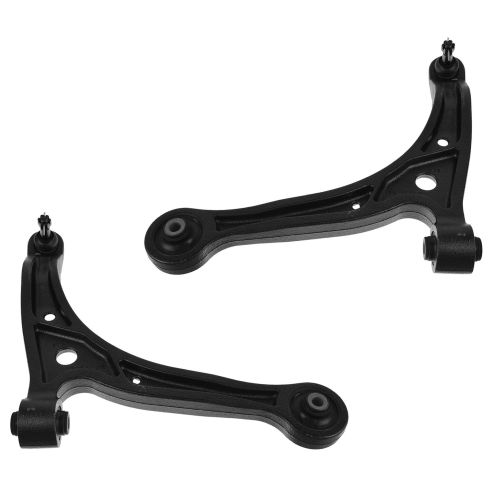
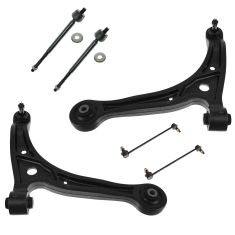
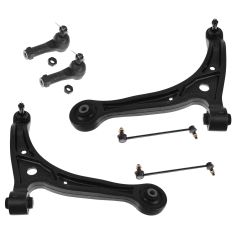
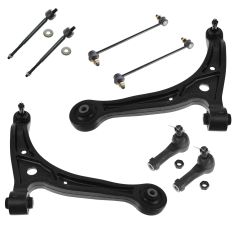
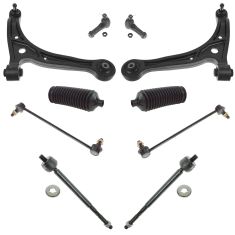
(1) Front Driver Side Lower Control Arm with Ball Joint
(1) Front Passenger Side Lower Control Arm with Ball Joint
Quantity:
2 Piece
Item Condition:
New
Specifications
Side Location
Driver & Passenger Side
Location
Lower
Front
Our control arms are designed to be direct replacements for the original factory parts. They are 100% brand new and require no modifications for installation. No special tools are required because all of the bushings come pre-installed.
Our steering and suspension components are pre-greased and sealed for long life and do not require the extra maintenance typically required by greaseable versions.
Attention California Customers:
WARNING: This product can expose you to chemicals including Lead and Lead Compounds, which are known to the State of California to cause cancer, and birth defects or other reproductive harm. For more information, go to www.P65Warnings.ca.gov.
Lifetime Warranty
This item is backed by our limited lifetime warranty. In the event that this item should fail due to manufacturing defects during intended use, we will replace the part free of charge. This warranty covers the cost of the part only.
FREE Shipping is standard on orders shipped to the lower 48 States (Contiguous United States). Standard shipping charges apply to Hawaii and Alaska.
Shipping is not available to a P.O. Box, APO/FPO/DPO addresses, US Territories, or Canada for this item.
Expedited is available on checkout to the United States, excluding Alaska, Hawaii.
Final shipping costs are available at checkout.
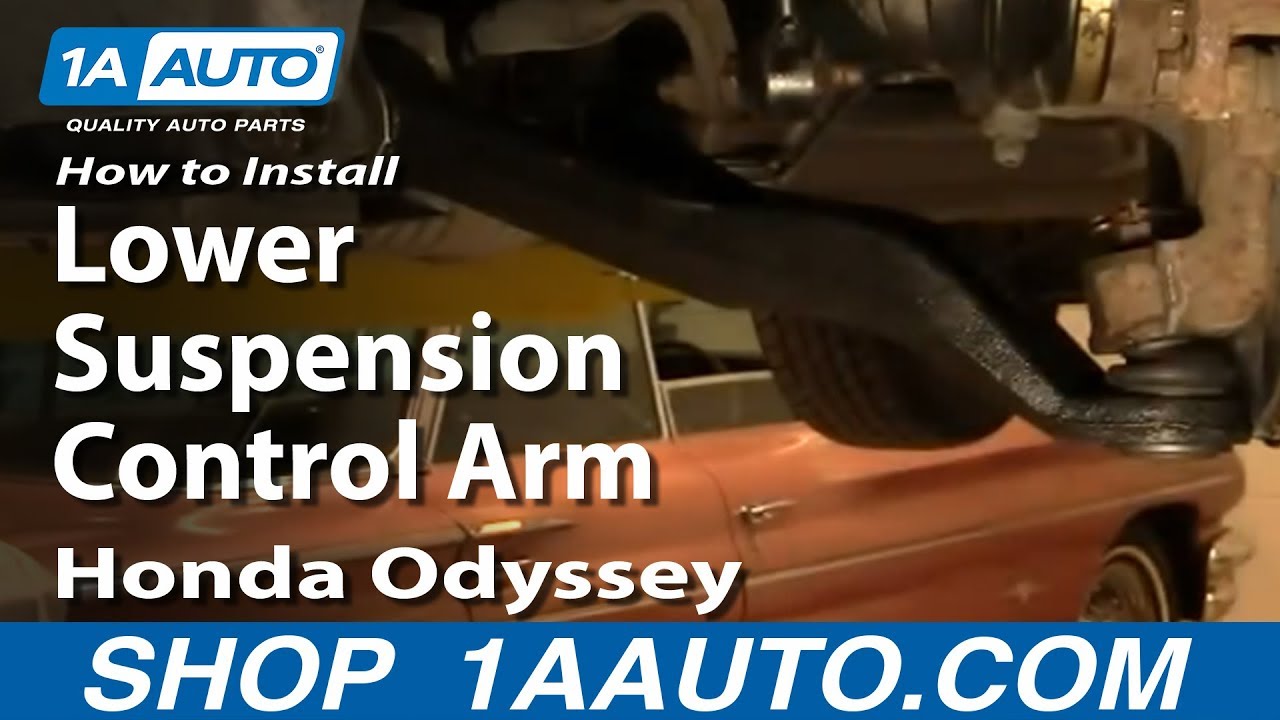
How to Replace Control Arm with Ball Joint 1999-2004 Honda Odyssey
Created on:
Tools used
Pickle Fork
A Piece of Pipe (for leverage)
Hammer
17mm Wrench
Rust Penetrant
Pry Bar
18mm Wrench
Jack Stands
19mm Socket
Ratchet
1/2 Inch Breaker Bar
Pick
1. Separating the Control Arm from the Knuckle
Loosen the lug nuts.
Lift the car, and remove the lug nuts the rest of the way.
Using pliers and a pick remove the ball joint pin.
Spray penetrating oil on the ball joint nut.
Using a wrench remove the ball joint nut.
Put the nut back on partially.
Use a ball joint fork and separate the ball joint from the lower control arm.
Remove the nut.
Pry the lower control arm out of the knuckle.
2. Removing the Control Arm
Spray the bolts on the control arm with penetrating oil.
Remove the two bolts from the control arm.
Pull the control arm down and out.
3. Replacing the Control Arm
Replace the rear bolt partially.
Rotate the control arm into place and push the ball joint into the knuckle.
Pry the control arm up to align the holes and replace the bolt.
Replace the ball joint nut.
Replace the pin.
Jack up the ball joint end of the control arm until all the support is on the suspension.
Torque the control arm bolts to 90 – 95ft/lbs.
Lower the control arm jack.
Put the wheel in place and replace the lug nuts.
Lower the vehicle and torque the lug nuts to 95 – 100ft/lbs. in a crossing pattern.
Brought to you by 1AAuto.com, your source for quality auto replacement parts and the bets service on the internet.
Hi, this is Mike from 1A Auto. I hope this how to video helps you out. Next time you need parts for your vehicle, think of 1AAuto.com. In this video, we'll show you how to repair or replace the front control arms. We're going to show you the passenger side. The driver side is the same procedure. Usually these, you really won't know if they were out. A lot of times it will come up in the yearly inspection but some symptoms of bad control arms are just kind of spongy steering or hearing kind of a knocking or clanking sound when you steer back and forth, right to left. We're doing this on a 2003 Odyssey, same as a '99 to '04 Odyssey.
You'll need new control arm or control arms from 1AAuto.com, jack and jack stands, 19mm socket and ratchet. You'll need a breaker bar or a pipe for some extra leverage, 17mm and 18mm wrenches, a ball joint or sometimes called pickle fork, a hammer and some penetrating oil. Okay, as you can see here, I've got the vehicle raised up and the lug nuts with my impact wrench. If you don't have an impact wrench, you want to start the vehicle on the ground, loosen the lug nuts with a 19mm socket and breaker bar or your tire iron then raise and support the vehicle and remove the lug nuts and wheel the rest of the way. You can see here I'm kicking the tire. That's basically just the way if your tire or your wheel is a little bit frozen on because of the aluminum. Just give it some good kicks and break it loose and then you can remove the tire.
Using pliers and a small pick or a screwdriver, I'll remove the pin that holds the ball joint nut. We're going to attach two wrenches together to get a little extra force on this and you can see, it works. I'm going to speed up here as Jeremy just takes that nut all the way off. That nut is generally a 17mm, it can be an 18mm though as well. Once the nut is off, I actually like to put it back on again, a few threads just because we're going to be breaking these two separate from each other and I don't like anything to happen to suddenly. If you have the nut on there, it keeps anything from getting crazy over here. This is an air activated pickle fork. They sell them to be used with a hammer as well. The hammer ones you just put right here then you hit on the end with a hammer. This one like I said is air activated so it's powered by air. Just put it right in here. As you can see, it separates the ball point.
Now, we'll grab a pry bar, put through in the lower control arm and pry it down. Take the nut off of the lower ball joint. Hopefully when it try it out enough, pull it out of the knuckle. Spray the bolts the best you can with some penetrating oil. There's two bolts that hold the control arm to the frame of the vehicle. Now, both of the control arm bolts are 19mm. You'll want to use a ratchet with a pipe on it because it's going to be pretty tight. Or maybe not. I'm going to speed it up here as we just remove that bolt the rest of the way. As it comes out, you'll probably have to keep spinning it with your wrench and kind of pull on it to get it out the whole way. Same thing with this one, just speed it up as the bolt is removed.
As you can see, the new one versus the old one. They look identical for all intents and purposes. New one have a nice coating on it. New ball joint, new bushings and it obviously fits the same way. Put the rear of the control arm in first. Then place the bolt in. Just install a couple of threads there while we rotate the arm into place. You can get the ball joint in too. Then your front bolts. You're going to need some messing with a pry bar. You can put the nut on the ball joint now. Using the original nut, it has the grove in it so the clip will fit a lot better. We'll tighten this down. Make sure that the pin will slide through the castle nut. I think we're pretty close. Now, you just push down and wiggle it, make sure it's tight. Now, just tighten those two main bolts until they start to sit. Now, before tightening these bolts, I'm putting a jack underneath the ball joint end of the control arm and basically jacking it up until the van starts raising off the lift a little bit. That means I have full support on the suspension and you want to tighten up those bolts with all the support on the suspension.
This should be torqued to around 90 to 95 foot pounds. This one should be the same. Okay, now you can let the suspension down off the jack and put your wheel and tire back on, start the lug nuts by hand first and just kind of tighten them up preliminarily before you put the vehicle down on the ground. Now again, use your torque wrench and you want to tighten up your lug nuts between 95 and 100 foot pounds and use a start pattern as you tighten.
We hope this helps you out. Brought to you by www.1AAuto.com, your source for quality auto replacement parts and the bets service on the internet. Please feel free to call us toll-free, 888-844-3393. We're the company that's here for you on the internet and in person.
PSA62263
In Stock
Product Reviews
Loading reviews
4.72/ 5.032
32 reviews
5 Stars
4 Stars
3 Stars
2 Stars
1 Star
26
3
3
0
0
1ASFK00577-1999-04 Honda Odyssey Control Arm with Ball Joint Pair
Neal
January 24, 2017
good quality parts at a great price with lifetime warrant, I have several cars and trucks and I will buy all my parts from 1A Auto
1aauto ????
Hassan
January 30, 2017
was fast shipping , Good quality parts and good price thanks !!
Paul
February 24, 2017
Really impressed. Price great,high guilalty,no problem with fit. Couldn't ask for more.
04 odyssey lower control arms
randy
May 1, 2017
Replacement parts from 1AAuto consistently seem to be of equal quality to the OEM part. Lower control arm was a perfect fit and I was able to see just how worm out the old ball joint was compared with the new one. Just replaced them so not a lot of miles or I would have given 5 stars. The shipping box was DESTROYED by the time it got to my house. Control arms are pretty heavy for a cardboard box.
Lower control arm
Dennis
June 14, 2017
Parts fit just fine and working just great thumbs up
Front suspension components.
Shawn
June 24, 2017
I received parts in a timely manner. Although the quality of material looked slightly inferior to oem, everything fit well and served the purpose. My vehicles front end is smooth again at all speeds. Customer service was excellent. Thx 1aauto!
Wow
N
September 27, 2017
I did both sides for the 1/4 the price the garage wanted for one side . Plus great speedy shipping??????
OEM quality
Gerard
February 23, 2018
I bought these control arm a year ago. Delivery was prompt and fast. When I saw the items I ordered I was impressed with the quality of the finish. Installing them was a snap. They fit right in with no modifications or difficulty whatsoever. I would highly recommend this product as well as 1AAuto for selling them.
Worth the money, back on the road.
Karl
April 26, 2018
Came with everything needed for the job. Reviewed the video before the order. Took less than an hour to do the complete job. Wish some one would invent a DYI KIT front end alignment tool. Local shops cost a lot of money for such a simple job.
Lower Control Arm
T
June 23, 2018
Ordering was really simple.Value/Price of part is really resonable.Ordered part on a Friday came the following Thursday.I am pleased with the purchase and how fast it was shipped and delived.
Four years and still going.
Joe-
October 25, 2018
Good fit. A little touchy on the bolt tightness though. They squeakednand graoned until they wore in a little.
HONDA ODYSSEY CONTROL ARM
E
November 12, 2018
THE SERVICE BY PHONE IS ALWAYS EFFICIENT AND THE PARTS ARE GOOD QUALITY AND PRICE IS EXCELENT
Good Company
P
February 2, 2019
I would definitely recommend 1 Aauto for your car parts. Very good service, really nice oparators, good helping with your order. Easy answering on the phone, no long waiting when you call. Fast delivery only 2 days to get you order. I would definitely buy from them again.
Deddy
February 17, 2019
Thats fits in my Honda odyssey 2002. Shipping faster and on time with the schedule. The packaging was good. The parts was great. So far so good
Honda Odyssey lower control arms
Brad
June 25, 2019
I woundn't have attempted this without the expert video from A1 auto, the parts were exactly as described and they fit perfectly. Not to mention they had the best price around and shipped very quickly, 1A auto rocks. Thanks
Brad in Iowa.
Control arm and wheel excel
A
July 10, 2019
I replaced quality is excellent and my car rings very smooth Im very happy with 1A auto also my 2 friend I referred that order parts too from Sandiego thank you very much
Excellent quality and fit
M
August 20, 2019
Handsome parts with a lifetime warranty. Nuff said.
Great price. Fast delivery.
Carl
January 19, 2020
Great price. Fast delivery
Perfect
Alex
March 4, 2020
Great parts, dont forget to torque while the vehicles weight compresses them
Whitney
March 22, 2020
My parts worked great and fit like they were suppose to and they came in a timely manner! Will definitely use you guys again!
Perfect fit and quality!
chris
July 5, 2020
I wouldn't hesitate for even a second, to buy from these guys again. Great quality and fit! Keep up the great work guys!!
Great fit
Edwin
August 8, 2020
Great pieces fit perfect easy to install and great video to show if you didnt know how to install.
2001 Honda Odyssey Lower Control Arms
K
February 16, 2021
OEM passenger ball joint rubber boot failed and front end started clunking over speed bumps (@~170K miles). Instead of replacing just the ball joint, I decided to replace both LCA's. Watched 1A Auto's videos and replacement was smooth. Did the outer tie rods, sway bar bushings and end links at the same time. After alignment, front end feels brand new! Glad that I went with 1A Auto. Thanks!
Great!
William
May 15, 2021
I rate this purchase a five star review due to the swift timeliness the part arrived in. The quality and the price both are excellent, a must by.
Lower control arm ????
Haniel
August 18, 2021
Went on like a glove so far so good
Quality part easy to install
Terry
September 5, 2021
Perfect match. Easy to install. Works great.
watched video and installed.very nice
kenneth
September 8, 2021
was very easy to install
joe
October 9, 2021
Bought tie rod ends missing cotter pin and castle nut.
jose
April 8, 2022
They Best of they rest
manny
June 28, 2023
A+++++!! Fast shipping!! Great product!!
Perfect fit
Nii-Akwei
October 25, 2023
Perfect fit and looks like similar quality.
Fit perfectly.
Loc
December 9, 2023
Fit perfectly.
Customer Q&A
Do you need to do an alignment after replacing the control arms?May 4, 2017
Mel A
10
Yes you do
May 4, 2017
William S
10
Since you are changing the lower pivot point for your steering knuckle on both sides, you create the opportunity to change your steering geometry, so it only makes sense to have the alignment done. Since you're changing these parts on an old vehicle, your alignment has probably been deteriorating as the ball joints and control arm pivots wore. Your alignment may actually be better with the new parts, but you won't know without having the alignment checked. With the cost of tires, the alignment will pay for itself.
May 4, 2017
Doug M
10
Yes u do
May 4, 2017
William S
10
Yes you will need to get an alignment done after installation.
May 4, 2017
Alex P
10
I would recommend it. The new control arm bushings are tighter and could cause the wheels to sit differently.
May 4, 2017
Rick B
10
Maybe. You should have it checked for sure. . Dealerships will usually test it for free. Could save $80-$120 if the alignment is within spec after you do the front end work.
May 4, 2017
Tom A
10
I believe the answer to the question is yes, but I am not a mechanic. I did not get one because everything was so tight after the job was finished that I wanted to drive the van for a while just to see how it behaved. No problem so no alignment. If you have not done the job yet , the hardest part of the job was getting the ball joint to release, I ended up buying a cheap ball joint separator. Worth the $20. Good luck.
May 5, 2017
Kent R
10
Yes, highly recommend that you do an alignment after installation. I did not at first but the tires started wearing unevenly and that had never happened before.
May 5, 2017
Deborah A
10
yes
May 5, 2017
G D
10
Yes, you should do an alignment anytime you replace any suspension components.
May 7, 2017
Joshua E
10
No
May 7, 2017
Bill K
10
I did have the alignment checked after I installed the new control arms. The comments from the alignment people were that it was "a little out" and needed to be corrected.
May 31, 2017
Dana H
Do these control arms have the bushings already in them?September 6, 2020
Tina V
10
Yes they allready has the bushings in them.
September 6, 2020
D A
10
Yes, bushings are already installed.
September 6, 2020
Michael-Ian D
10
Yes, these parts will already come with the bushings. Please do not hesitate to contact us with any further questions.
September 8, 2020
Emma F
Customer service
877-844-3393
Monday - Friday 8:00am - 9:30pm ET Saturday - Sunday 8:00am - 4:30pm ET
Honda is a registered trademark of Honda Motor Co., Ltd. 1A Auto is not affiliated with or sponsored by Honda or Honda Motor Co., Ltd.See all trademarks.
Enter Vehicle Year Make Model
Specify your vehicle's year, make and model to guarantee fit.
Year
Make
Model
Options
Drivetrain
This part doesn’t fit a . Select from parts that fit.