Replaces
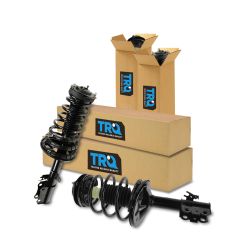
Replaces 1992-94 Toyota Camry Front & Rear 4 Piece Strut & Spring Assembly Set TRQ SCA57093
$412.95
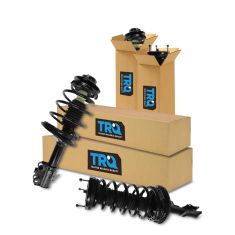
Replaces 1992-94 Toyota Camry Lexus ES300 Front & Rear 4 Piece Strut & Spring Assembly Set TRQ SCA64698
$412.95
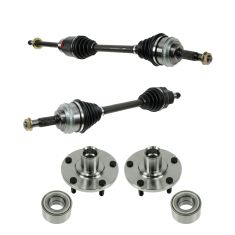
Replaces Toyota Camry Solara Front Drivetrain Kit TRQ CSA80108
$294.95
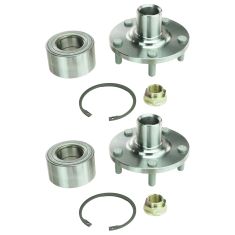
Replaces Toyota Camry Solara Lexus RX300 Front Driver & Passenger Side 2 Piece Wheel Bearing & Hub Kit Timken TKSHS00040
$249.95
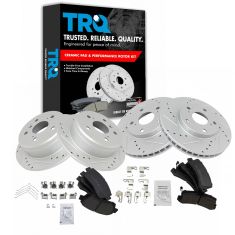
Replaces Toyota Camry Front & Rear Semi-Metallic Premium G-Coated Performance Brake Pad & Rotor Kit TRQ Performance BKA18808
$239.95
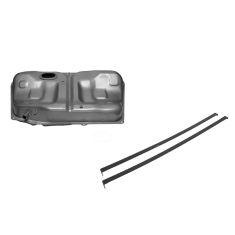
Replaces Toyota Avalon Camry Lexus ES300 Fuel Tank Kit TRQ FTA65953
$239.95
Part Details
Specifications
Product Features
Assemblies may include halogen or incandescent test bulbs that should be replaced before installation.
Attention California Customers:
 WARNING: This product can expose you to chemicals including Chromium (Hexavalent Compounds), which is known to the State of California to cause cancer, and birth defects or other reproductive harm. For more information, go to www.P65Warnings.ca.gov
Lifetime Warranty
This item is backed by our limited lifetime warranty. In the event that this item should fail due to manufacturing defects during intended use, we will replace the part free of charge. This warranty covers the cost of the part only.


Created on:
Tools used
Brought to you by 1AAuto.com- your source for quality replacement parts and the best service on the internet.
Hi, I'm Mike Green. I'm one of the owners of 1AAuto. I want to help you save time and money repairing and maintaining your vehicle. I'm going to use my 20+ years' experience restoring and repairing cars and trucks like this to show you the correct way to install parts from 1AAuto.com. The right parts installed correctly, that's going to save you time and money. Thank you and enjoy the video.
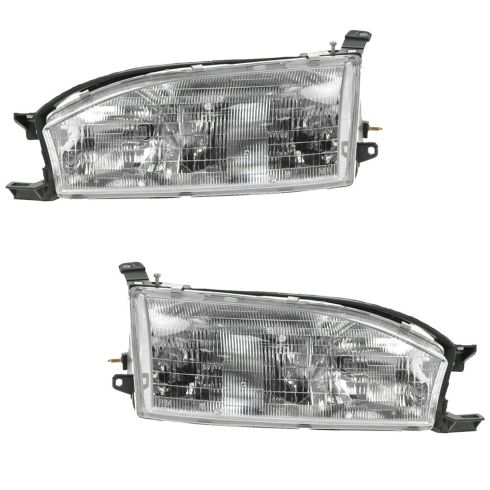
In this video, I'm going to replace a headlight on this '94 Camry exactly the same as any '92 to '94 and the '95 and '96 are very similar, just that the headlight is shaped is a little bit different. The only tools you'll need are a Phillips screwdriver and a ten millimeter socket and ratchet. Okay, if you're just looking to change your headlights, you can get to the bulbs from the back here. See right here and you twist and pull them out, and then you just press on this tab and the light comes out. Push it back in, put it in and just find the right position to twist.
Now, if you've broken a headlight and you want to remove the whole thing and replace it, just start by removing the side marker light which is just one screw at the top here and remove that screw. Then just push or pull that forward and out and then there's a socket that you just turn, quarter turn counter clockwise and that comes out and it's a part. After you remove the grille, ours is kind of broken and it has a ten millimeter bolts here which I don't think is correct. I think you'll probably find on an original car that it has Phillips screws. Anyways, you remove both these bolts. Then, I believe additionally, you'll find... Yeah, there's a fastener here but it's broken off on this car, and then it pulls ... The grille pulls up and out.
With the grille removed, here is a series of bolts. There's a ten millimeter one there, one there, one here, and then one on the side here. You want to remove ... Excuse me, one on the side right here. Use a ten millimeter socket and ratchet and a little extension. Now, I kind of lift it up the front out first and slide it to this side. Here pull off, same thing with the high beam. Press on the tab, pull off and your light is out.
Okay, so on top here is the new one light from 1AAuto, here's the OE. You can see that these are new lights. These are in pretty nice shape but the new light is a little bit brighter and that's what happens to these. These yellow and get scratched and dull, but the new light from 1AAuto is going to install just the same. I am going to put the original one back in because it's in good shape.
It's reverse procedure. I'm going to put it in close, plug in my headlights first, and then put it in and this stud; we got to get that stud in the side there. I'm going to speed up through putting the four bolts back on. When you tighten these up, you want them firm. They don't have to be incredibly tight, but you want them nice and snug. After you put these on, put the stud on the side and then the last bolt up on top.
Now, re-install the grille. Our grille is in pretty rough shape but there are two square tabs here that push down in first. Okay and I'm just going to fast forward putting those bolts back in. They're ten millimeter on this and tighten them up snug. Bolt goes and twist and then there is a pin right here and a hooking pin here. Just make sure those go in the right spot. Just force it in just a little bit. Push it back into place and screw it right in.
We hope this helps you out. Brought to you by www.1AAuto.com- your source for quality replacement parts and the best service on the internet. Please feel free to call us toll-free, 888-844-3393. We're the company that serves you on the internet and in person.